Loving on Narcissus


Could there be a better cut flower than narcissus?

There are so many reasons to love this flower. They are deer resistant, largely pest-free, dead easy to grow and never need dividing.

The flowers (of which there are endless varieties) can be cut and stored well in advance of them blooming in the field, and they have a great vase life. 

DSC_0158.jpg
DSC_0179.jpg

All that said, here are 3 tips to help ensure you get the most out of your narcissus in the garden and in the studio. 

  1. don’t cut the foliage. If you want a good showing next year, leave all the foliage (in other words, just cut the stem with the bloom on it). This foliage will absorb the energy of the sun, feeding the bulbs for the following growing season. 

  2. if you have empty pockets in your garden, fill them with narcissus. This is a great way to maximize space. Narcissus work well interplanted amongst other perennials (think peonies, roses, hydrangea). The only key here is that you need to ensure that there’s adequate drainage in your beds - another reason why I love narcissus is that the bulbs can withstand moisture in the garden while the bulbs are dormant (late summer/fall) but only if the water isn’t pooling. 

  3. store separately. When harvesting your flowers, you’ll notice that the stems weep a viscous fluid. This can be toxic to other flowers. Just store your cuts overnight in a shallow bucket of water to let them drain. After that, they can be safely arranged with other flowers.  

DSC_0053.jpg

Weighing in on landscape fabric

I’ve recently received several questions about using landscape fabric when growing cut flowers. This is a really important question for the cut flower grower, especially if you’re interested in growing in a more ecologically sound way. 

Here’s a Q&A with one of my students on this topic…

Q. I've been thinking about my summer mulching strategy and am wondering if you have some insight into my dilemma. The use of landscape fabric as a seasonal mulch is so popular with flower growers these days, and I've been using it on about half my garden beds over the past two gardening seasons, following the approach of burning holes and planting into them. I've appreciated how much it has diminished my summer weeding labor, but I am not certain it's best for my soil's health and biodiversity. When I pulled it up at the end of last season, I noticed the color and texture of the soil seemed diminished compared to leaf-mulched soil, and it was an absolute fire ant city under there! Not to mention, on a smaller scale where one bed isn't necessarily all one crop makes the rotation of crops over the course of the season really tricky with fabric. Still, living in the south where the heat and the weed pressure are so intense in the summertime, I do love the comprehensive weed suppression the fabric provides… I'm curious to hear your thoughts on these alternatives. Have you used landscape fabric in your garden, or know of anyone who's tested its effects on soil health?

A. There are many problems with landscape fabric and you’re spot-on that it is terrible for your soil health. As you know from my course, health, and in particular soil health, is the secret to a great garden that’s less susceptible to pests, disease, plant failure. 

Why is landscape fabric such a problem? It’s mainly because the fabric blocks the cycling of organic matter in the soil. As a result you’re essentially killing off your soil organisms, which can cause all sorts of problems.

My approach is all about replicating and enhancing the natural processes that happen already in nature, not thwarting them (which is what landscape fabric does). Does this require more effort? Yes, but when you weight that against the risk of crop failure from disease and pests and other issues that can arise, it’s 100% worth it. 

Is there any good time to use landscape fabric? I think the only acceptable use for it is in pathways, but even then, I don’t use it now that I have dialled in better methods for weed suppression (including sheet mulching with cardboard and wood chips, or planting micro clover as you can see in the image below)

I fully understand that it’s hard to not be tempted by landscape fabric, especially if you are growing on a larger scale, or trying to expand your growing space. But if you can, see if you can shift away from using landscape fabric (and instead practice mulching as a way to reduce weeds which sporting your soil health). If you do use landscape fabric, wherever possible, replenish the soil at the end of your season; a good application of well-made compost and/or AEM’s are great ways to bring some balance back into the garden.

DSC_0196.jpg

The tulip bed

IMG_5907.jpg

Paths are planted with micro clover, beds are heavily mulched with leaves


The Magic of Repeat-Flowering Roses

For the flower grower, June is the month of the rose. Along with the peonies, columbine, foxglove and bearded iris, here on the Northern hemisphere, it's undoubtedly one of the best times of the year in the cutting garden. 

It goes without saying that we want to have as many blooms as possible in the cutting garden. In the rose patch, part of this comes down to selecting the right roses. That means choosing roses that are floriferous, will grow well in your zone and microclimate and are in-demand. But also means in choosing roses by their bloom cycle. 

Some roses will bloom once in the late spring. These are called 'once-flowering' roses. And there are a few roses that will bloom non-stop throughout the growing season. These are called 'continuous-flowering' roses.

'Repeat-flowering' roses are in between - they produce multiple flushes of blooms starting in late spring all the way through till frost (although their subsequent flushes will not usually be as abundant as their first).

Continuous-flowering roses sound like the holy grail for the cut flower grower, however, the volume of roses they produce throughout the season will be roughly equivalent to what a repeat-flowering rose will produce in their primary flush.

So for the cut-flower grower looking for a continuous supply of blooms, repeat-flowering roses are indispensable. The good news is that most modern shrub roses, including most David Austin roses, are repeat-flowering.

Some of my favorite repeat-flowering roses include:

  • Boscobel

  • Abraham Darby

  • Leander

  • Crown Princess Margareta

  • A Shropshire Lad

A few others I love are Tranquility, Jude the Obscure, Distant Drum, Honeymoon, Koko Loco, and Claire Austin.

Below are some images of how I've used them in arrangements, and a few things you need to have in place in order for them to keep blooming. 

DSC_0100.jpg

This is a bowl of three of my favourite repeat-flowering roses, Boscobel (the dark pink rose), and Crown Princess Margareta (the orange rose), and Evelyn (peachy pink). 

DSC_0015.jpg
DSC_0005.jpg

Tucked into the right side of this arrangement is Leander, a glorious spray shrub rose that has wonderful, medium-sized mid-toned pink blooms. On the left, Crown Princess Margareta tumbles out of the front.  

DSC_0101.jpg
DSC_0098.jpg

A single multi-bloomed step of Crown Princess Margareta on the left of this arrangement. 

DSC_0133.jpg

An arrangement with Abraham Darby, Boscobel and Crown Princess Margareta.

IMG_0513.jpg

Crown Princess Margareta

To get the most out of your roses, here are a few tips:

  • All roses need a great home in the garden, with deep, rich, well-drained soil, but this is especially true for repeat-flowering roses.

  • Winter pruning (and training in the case of climbers like A Shropshire Lad) is essential.

  • Dead-head spent blooms.

  • Feed and water regularly throughout the growing season (foliar feeding is a great option), and remember that roses typically require more food and water than other shrubs or perennials.

Reflection: Emerging from Winter Part 2

Here is Part 2 of Reflections on the Emerging from Winter workshop with Soil & Stem in April 2018. Click here to read Part 1. 

The flowers we worked with in the workshop included: specialty narcissus, parrot tulups, hellebores, ranunculus, fritiallaria, clematis, akebia, spirea, amelanchier, viburnum, quince, camellia, anemone and dogwood.

I love reflecting on the individuality of the students who came to the workshop. From their questions to their favorite flowers, from the color palette to the shape and flow of their arrangement, their finished arrangements are so unique and perfectly express the beauty of spring. 

Emerging From Winter-32.jpg
Emerging From Winter-45.jpg
Emerging From Winter-59.jpg
Emerging From Winter-79.jpg
Emerging From Winter-80.jpg

Special thanks to the growers of these stunning flowers: Busy Bee Farm and FloralsCartref Gardens and Ninebark Farm. And with gratitude for the support from A Fox in the Flowers, Charlotte and the Quail and Kelly Brown Photography. And thanks to the incredibly talented growers and designers who joined us for the workshop including Darlene, Kathleen, Carol and @houseatwindsor @backcountryblooms @littlebirdbloom @perennialgatherings @flower_fort @jillloveslace @alison.lopakka.joy.

All images by Kelly Brown

Reflection: Emerging from Winter Part 1

Emerging From Winter-12.jpg

Almost three years ago to the day I had this idea for a course...to teach people how to grow beautiful flowers using the best organic methods. To create a rich, abundant garden with minimal effort and stress. That summer and fall I created the course - we shot video and photos in the garden and put everything together into a step by step guide. In the spring of 2016 I launched the course. It was both nerve-wracking and exhilarating. Bringing something like this into the world, you wonder - will anyone like it? who do I think I am to do this? will it be valuable?

One of the first people to reach out with words of support was Nicole from Soil and Stem. I'm sure like many of you reading this, I was a huge fan of her stunning, seemingly effortless and natural arrangements. Nicole became a student of mine and we started talking about a way to get together. Then last spring we decided to make it happen.

In April of this year, Nicole and I hosted Emerging from Winter, a gardening and design workshop exploring the beauty of the spring cutting garden. This was a really special workshop for me. Having Nicole here was amazing. As you'll see in the next post, she expertly guided us in creating incredible arrangements. But it was also my first time hosting a workshop using flowers exclusively grown in Victoria, including flowers from Busy Bee Farm and FloralsCartref Gardens and Ninebark Farm (and my garden). 

3 years ago, this wouldn't have been possible. One of the absolute best things about creating the Garden to Vase course and being part of the community of amazing growers here is seeing how the industry is evolving (in the best possible way!). 

Below is a taste of our time together, and Nicole's incredible demo arrangement. We spent the morning in the garden, exploring different aspects of growing a cutting garden. The afternoon was spent playing in the studio with Nicole. Stay tuned for Part 2 where I'll share some of the beauty our talented students created ;)

With huge gratitude to some special collaborators including Erin from A Fox in the Flowers, Lyndsey from Charlotte and the Quail and Kelly from Kelly Brown Photography

Emerging From Winter-20.jpg
Emerging From Winter-41.jpg
Emerging From Winter-26.jpg
Emerging From Winter-32.jpg
Emerging From Winter-63.jpg
Emerging From Winter-65.jpg
Emerging From Winter-71.jpg
Emerging From Winter-194.jpg
Emerging From Winter-196.jpg

All images by Kelly Brown

Emerging from Winter with Soil & Stem

Join myself and Nicole of Soil and Stem for a daylong intensive on growing cut flowers and the composition of vase floral arranging.

In Emerging from Winter, participants will take to my garden to receive hands-on collaborative gardening and floral design instruction. Nicole and I will offer a comprehensive look into cultivating cut flowers and how to achieve depth and authenticity in your designs.

Our time together will be spent immersed in creative conversations as we guide you through techniques of growing and choosing product that lends itself to natural floristry, creating texture and movement in your work, and exploring the complexities of color.

We invite you to wander and harvest from my garden. Enjoy artistic breathing space among the first of spring’s flowers emerging from winter including fritillary, tulips, narcissus, hellebores and flowering branches.

Her first time teaching in Canada, this is a rare opportunity to study with Nicole, and this will be Clare's only workshop in 2018. Space is filling quickly. Register early to avoid disappointment.

The 5 best flowers to grow for market

If it feels challenging to decide on what to grow in your cutting garden, one of the first things to consider is how those flowers will be used. 

If you're growing for your floral design business, the types and colours of the flowers you choose will likely be different than if you're growing for market. 

If you're aiming to sell your flowers at your own farm stand or a local summer farmers market, you want long lasting flowers that people will go crazy for. The first group of flowers you should consider are the cut-and-come again flowers. Dahlias, zinnias, cosmos all fall into this category. The more you cut (so long as you are feeding and watering well), the more flowers you will get. Next, consider the flowers that just have just a single bloom cycle. These can sometimes fetch a higher price - anything that has a shorter season is to be prized. Peonies are a perfect example. 

While the list of flowers to grow for market is long, here are 5 to consider that will bring you great success:

  • Peonies
  • Zinnias
  • Ranunculus
  • Cosmos
  • Sunflowers

And if you really want to stand out, focus on unusual colours / varieties like chocolate sunflowers or single petaled peonies. 

As a little bonus tip, grow dahlias too. Some types of dahlias aren't as long lasting as the above flowers and can bake quickly in the heat of a summer farmers market so consider the long-lasting types like the pom pom or ball types. Given how much you can get from a single plant, and how much people love them, they make a great investment.   

Designing a Rose Garden with the help of David Austin

Did you know that David Austin offers free design services for planning a rose garden?!

I discovered this in their catalogue recently and the timing couldn't have been better. With a bunch of new roses about to arrive and the desire to move some old ones, I needed help. 

Here's what I submitted to David Austin:

Hello!

Here is the list of roses I'll be working with (total 17):

  • Evelyn Climber x 2
  • Evelyn Shrub x 5
  • Crown Princess Margherita x 3
  • Leander x 2
  • Wildeve x 2
  • Abraham Darby x 3

About the space:

  • It’s a border alongside a 7’ high fence, the bed is 6’6” wide x 56’ long.
  • The bed curves, facing east and south in roughly equal proportions (the eastern section gets late day shade). 
  • The other plants I’d like to incorporate include: a few flowering shrubs (1 of each lilac, mock orange, nine bark, hydrangea) as well as lots of ornamental alliums (drumstick + bulgaricum), and a few perennials (approx 10 each of heuchera, columbine, astrantia). 
  • I have some clematis that I’d like to incorporate with the climbers including Duchess of Edinburgh x 3, Ville de Lyon x 1 + Alpina x 3 + Tangutica x 1. 
  • I like an informal style. The garden is a cutting garden so I’d like to be able to access the plants at the back of the border without too much trouble (I’ve been wondering if it would be best to not put thorny roses at the front of the border for example). 
  • The image below shows you most of the bed (there’s a bit more on the left of the image). 

I hope that helps! 

Below is what I received from the wonderful Michael Marriott of David Austin Roses: 

Hello Clare,

Thank you very much for your email asking for help in designing your rose border. Please find below a planting scheme which I hope you like. I started off by trying to include all the plants you listed but soon realized that there wasn’t enough space and so have left out all of the flowering shrubs as they all potentially grow big and take up a lot of space. 

As you say it is for cutting, the roses are spaced fairly well apart although having said that with the exception of Evelyn which is reasonably upright all will become quite large spreading bushes. You will see that I have suggested using both Leander and one of the Crown Princess Margareta as climbers as they are both vigorous and will be better for being trained. The spaces in between the roses are for you to fill with the perennials – all the ones you listed will look very lovely with the roses. as a general guide line it is important not to plant perennials right at the base of roses as they will take the lion’s share of water and nutrients leaving little for the roses. Some though could be planted right at the front of the border in front of the roses. You will though have to take into consideration accessing the roses and clematis at the back. 

You will see I have put three of the clematis in between the roses quite close to the roses so that they can have the chance of growing through them without overwhelming them. C. tangutica I have left out as it is very vigorous best grown into a tree. 

I was interested to look at your website – it is very lovely. Do let me know if you need any more help with the roses,

Best Wishes Michael

How fabulous. Thank you so much Michael and the folks at David Austin for offering such an invaluable resource. 

To learn more about David Austin roses, click here

Feeling Daunted by the Thought of Growing Flowers?

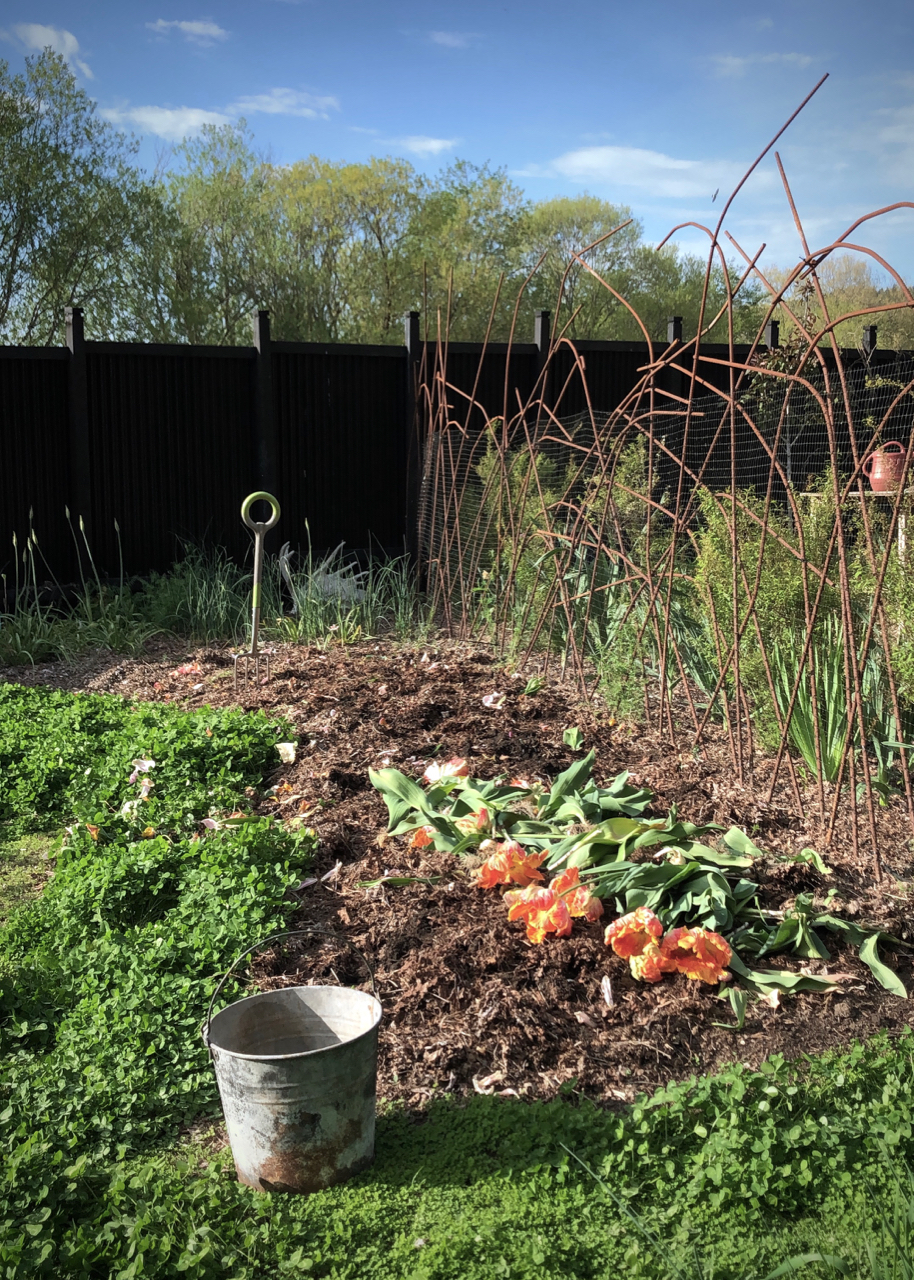
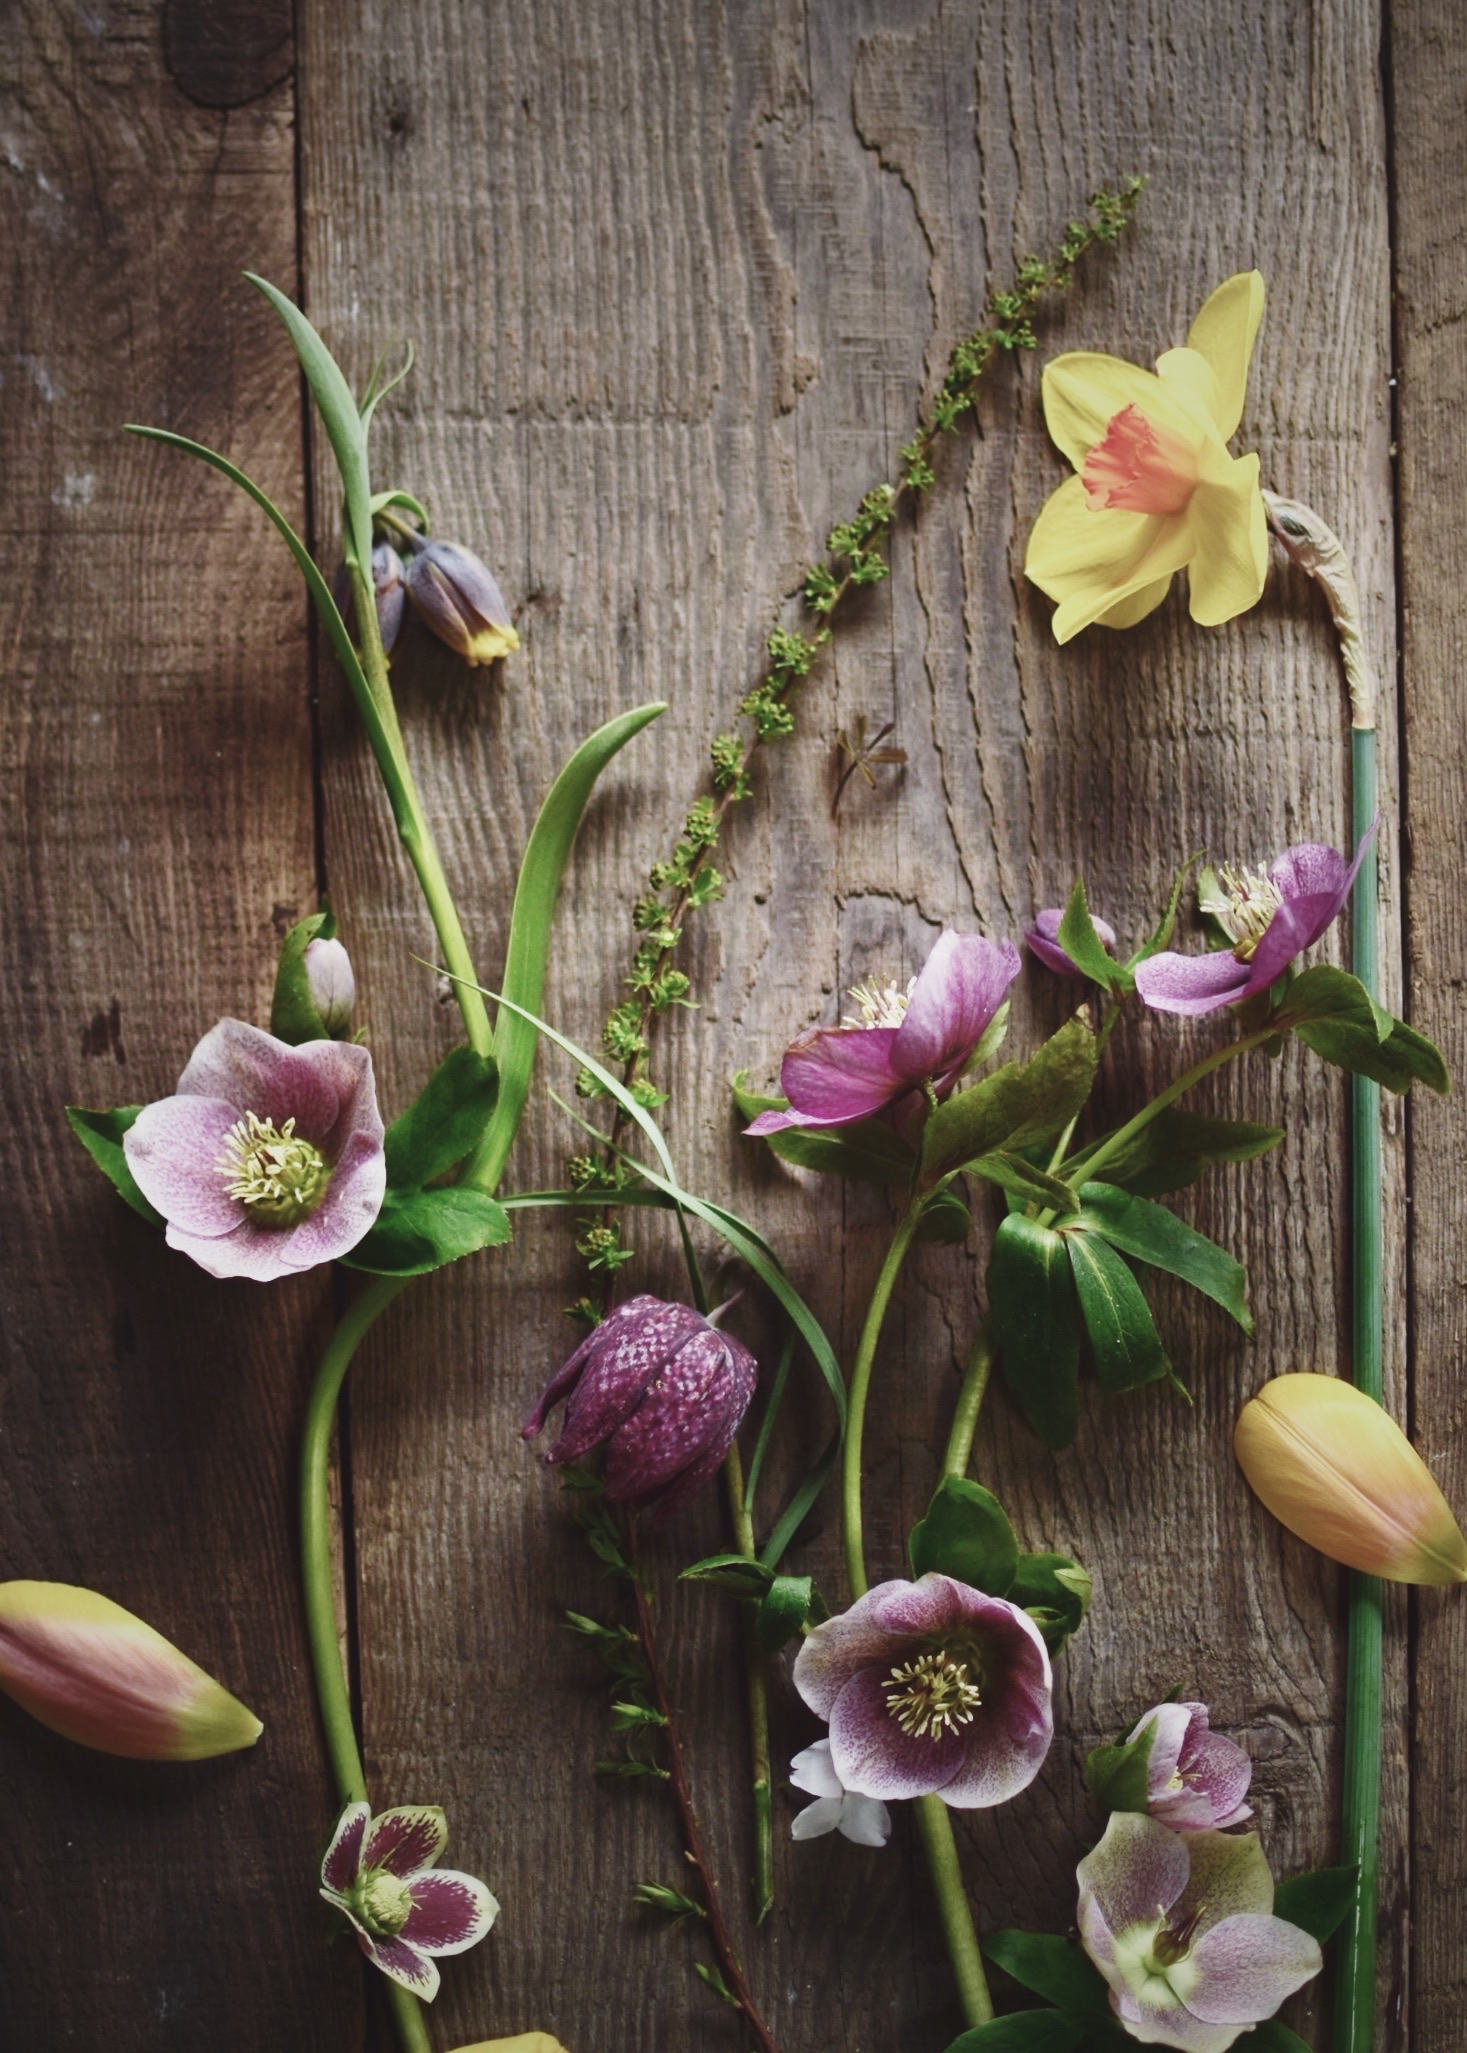
I remember it like yesterday...staring down the length of one of my rows of cut flowers in the height of summer and feeling completely overwhelmed. I was overwhelmed by the weeds (OMG the weeds!), the dry, clay soil, the flowers, many of which looked weak and spindly. I took a deep breath and went to work, but I felt like a failure. I had to be honest with myself that I didn't really know what I was doing. 

That was the first year I was growing flowers. Here I am 10 years later and the truth is, I still feel daunted at times. And I bet you've been there too, especially if you're just starting out or are contemplating growing flowers. 

This is normal. Gardening, however large or small your garden is, is hard work. What's important is taking action, not getting caught up in distractions, and learning from your mistakes. 

This year, my focus is on improving my fencing (so I'm not risking my investment to hungry deer), pre-mixing some foliar sprays for pests, disease and the general health of my plants (having them ready to go means I can get on top of things before they become a problem), and seeding new pathways with ground covers like micro clover so they don't get overtaken with weeds.  For all of these tasks, I've created task lists and scheduled everything, and factored in all the existing maintenance I need to do as well. When I'm overwhelmed, I visit my lists, check things of, shuffle things around on the calendar, and get back to work. 

Here are a few things to keep in mind if you too are feeling overwhelmed by either the garden you have, or the prospect of creating a cutting garden: 

1. Most of your success will come down to good planning. This means a plan that looks forward 1 year (or, at least to the end of your growing season), then breaking down your tasks by month and by week, focussing on the tasks that are both important and urgent first (this could mean spending a half-day spent weeding and mulching so you only have minimal upkeep for the rest of the season). 

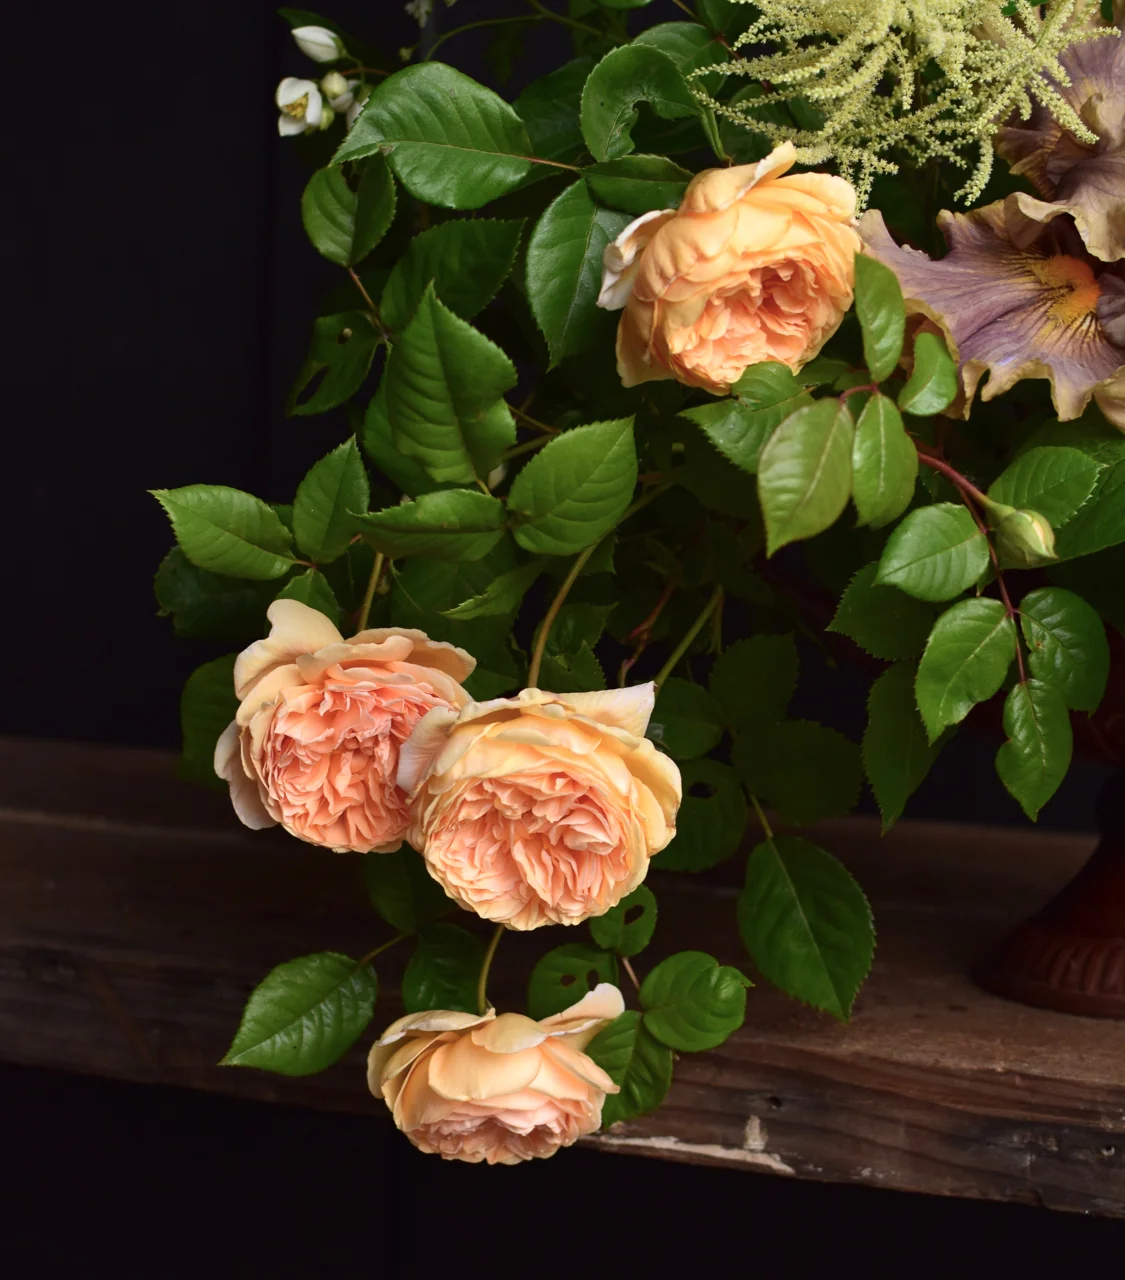
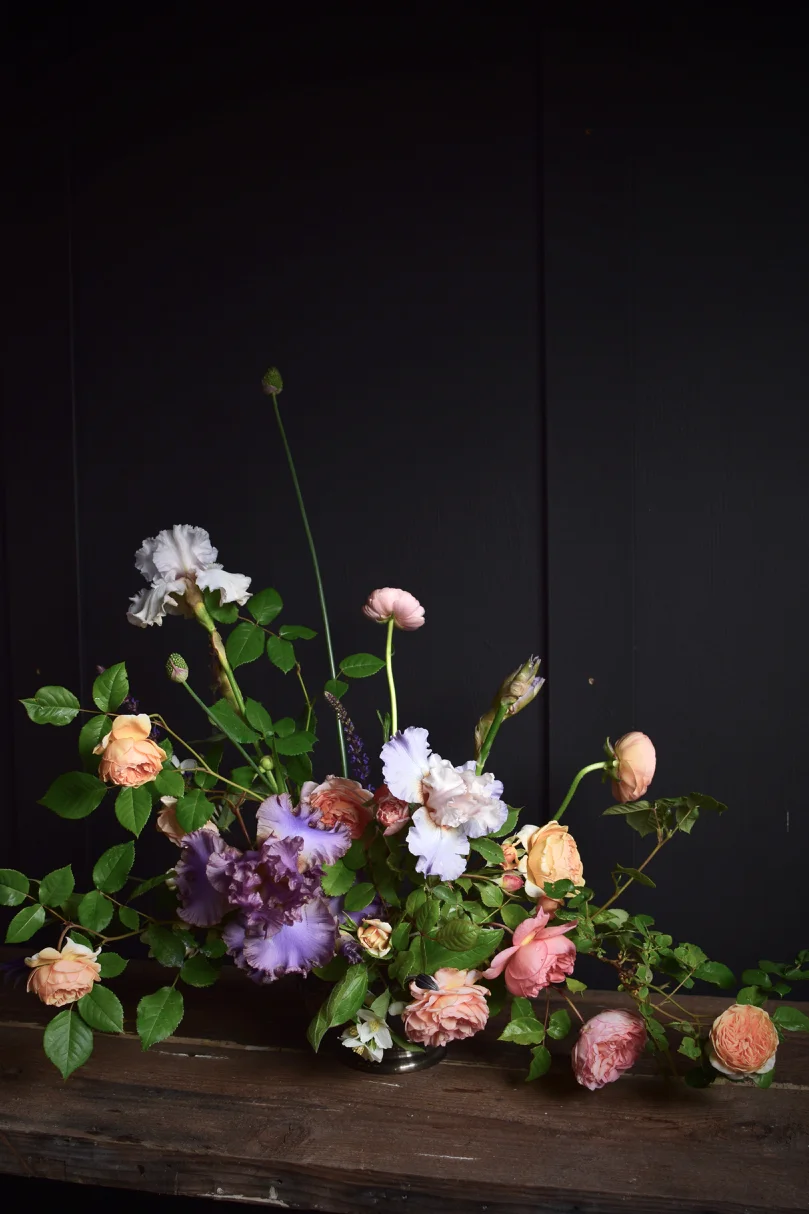
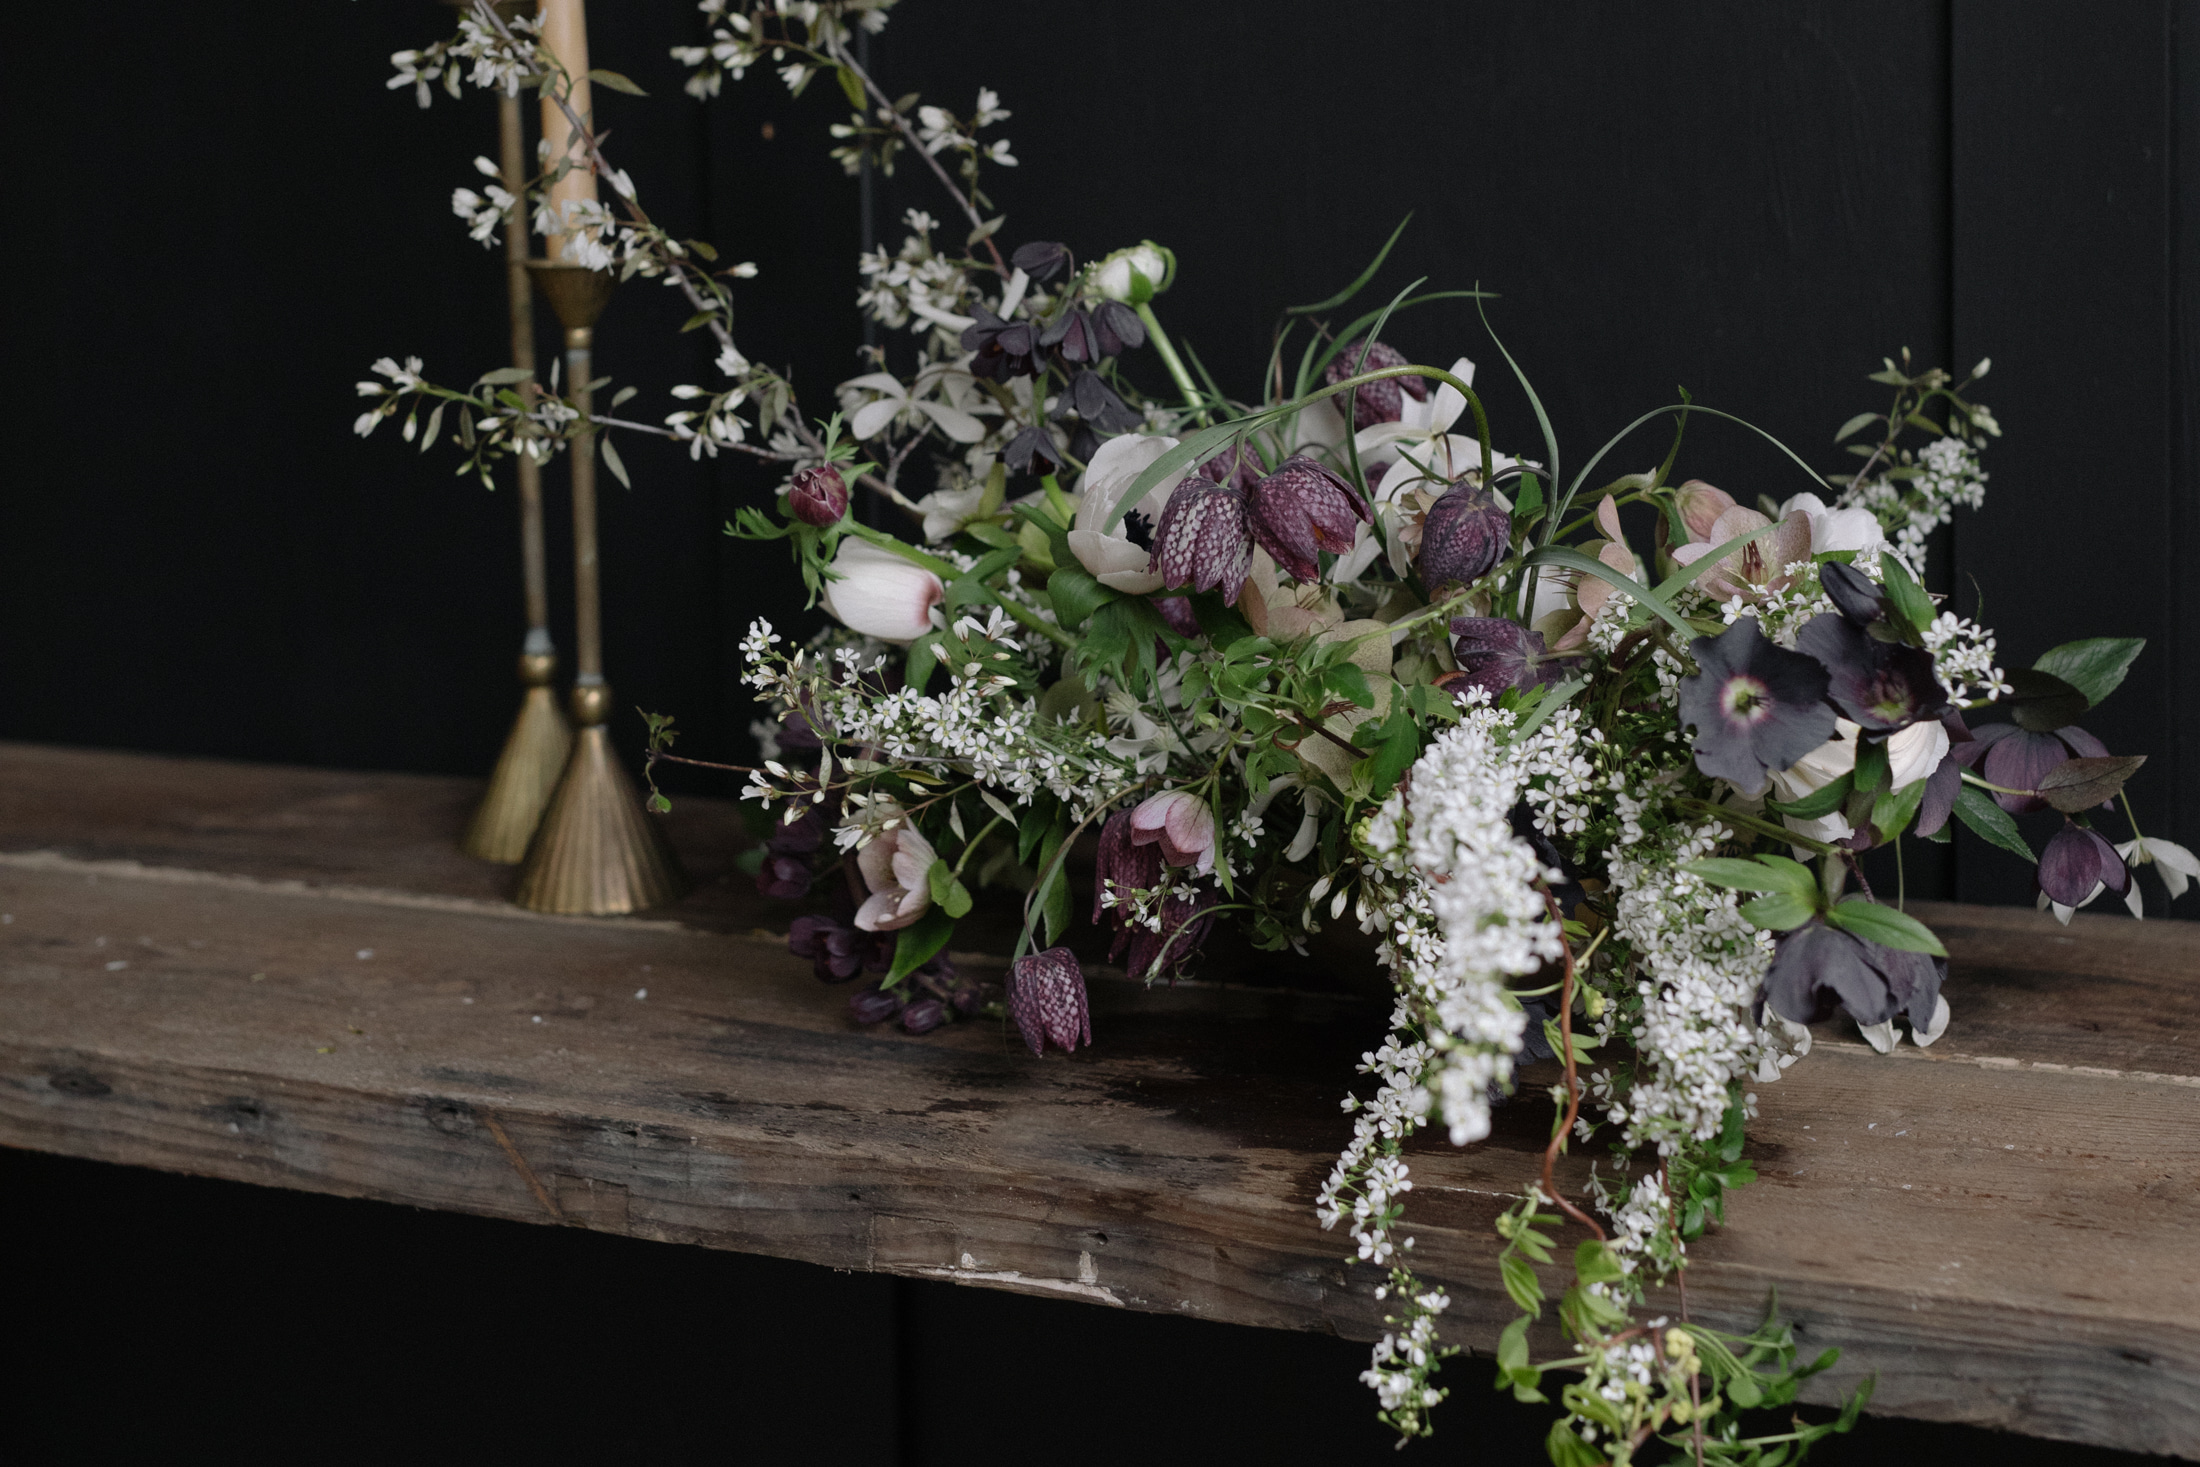
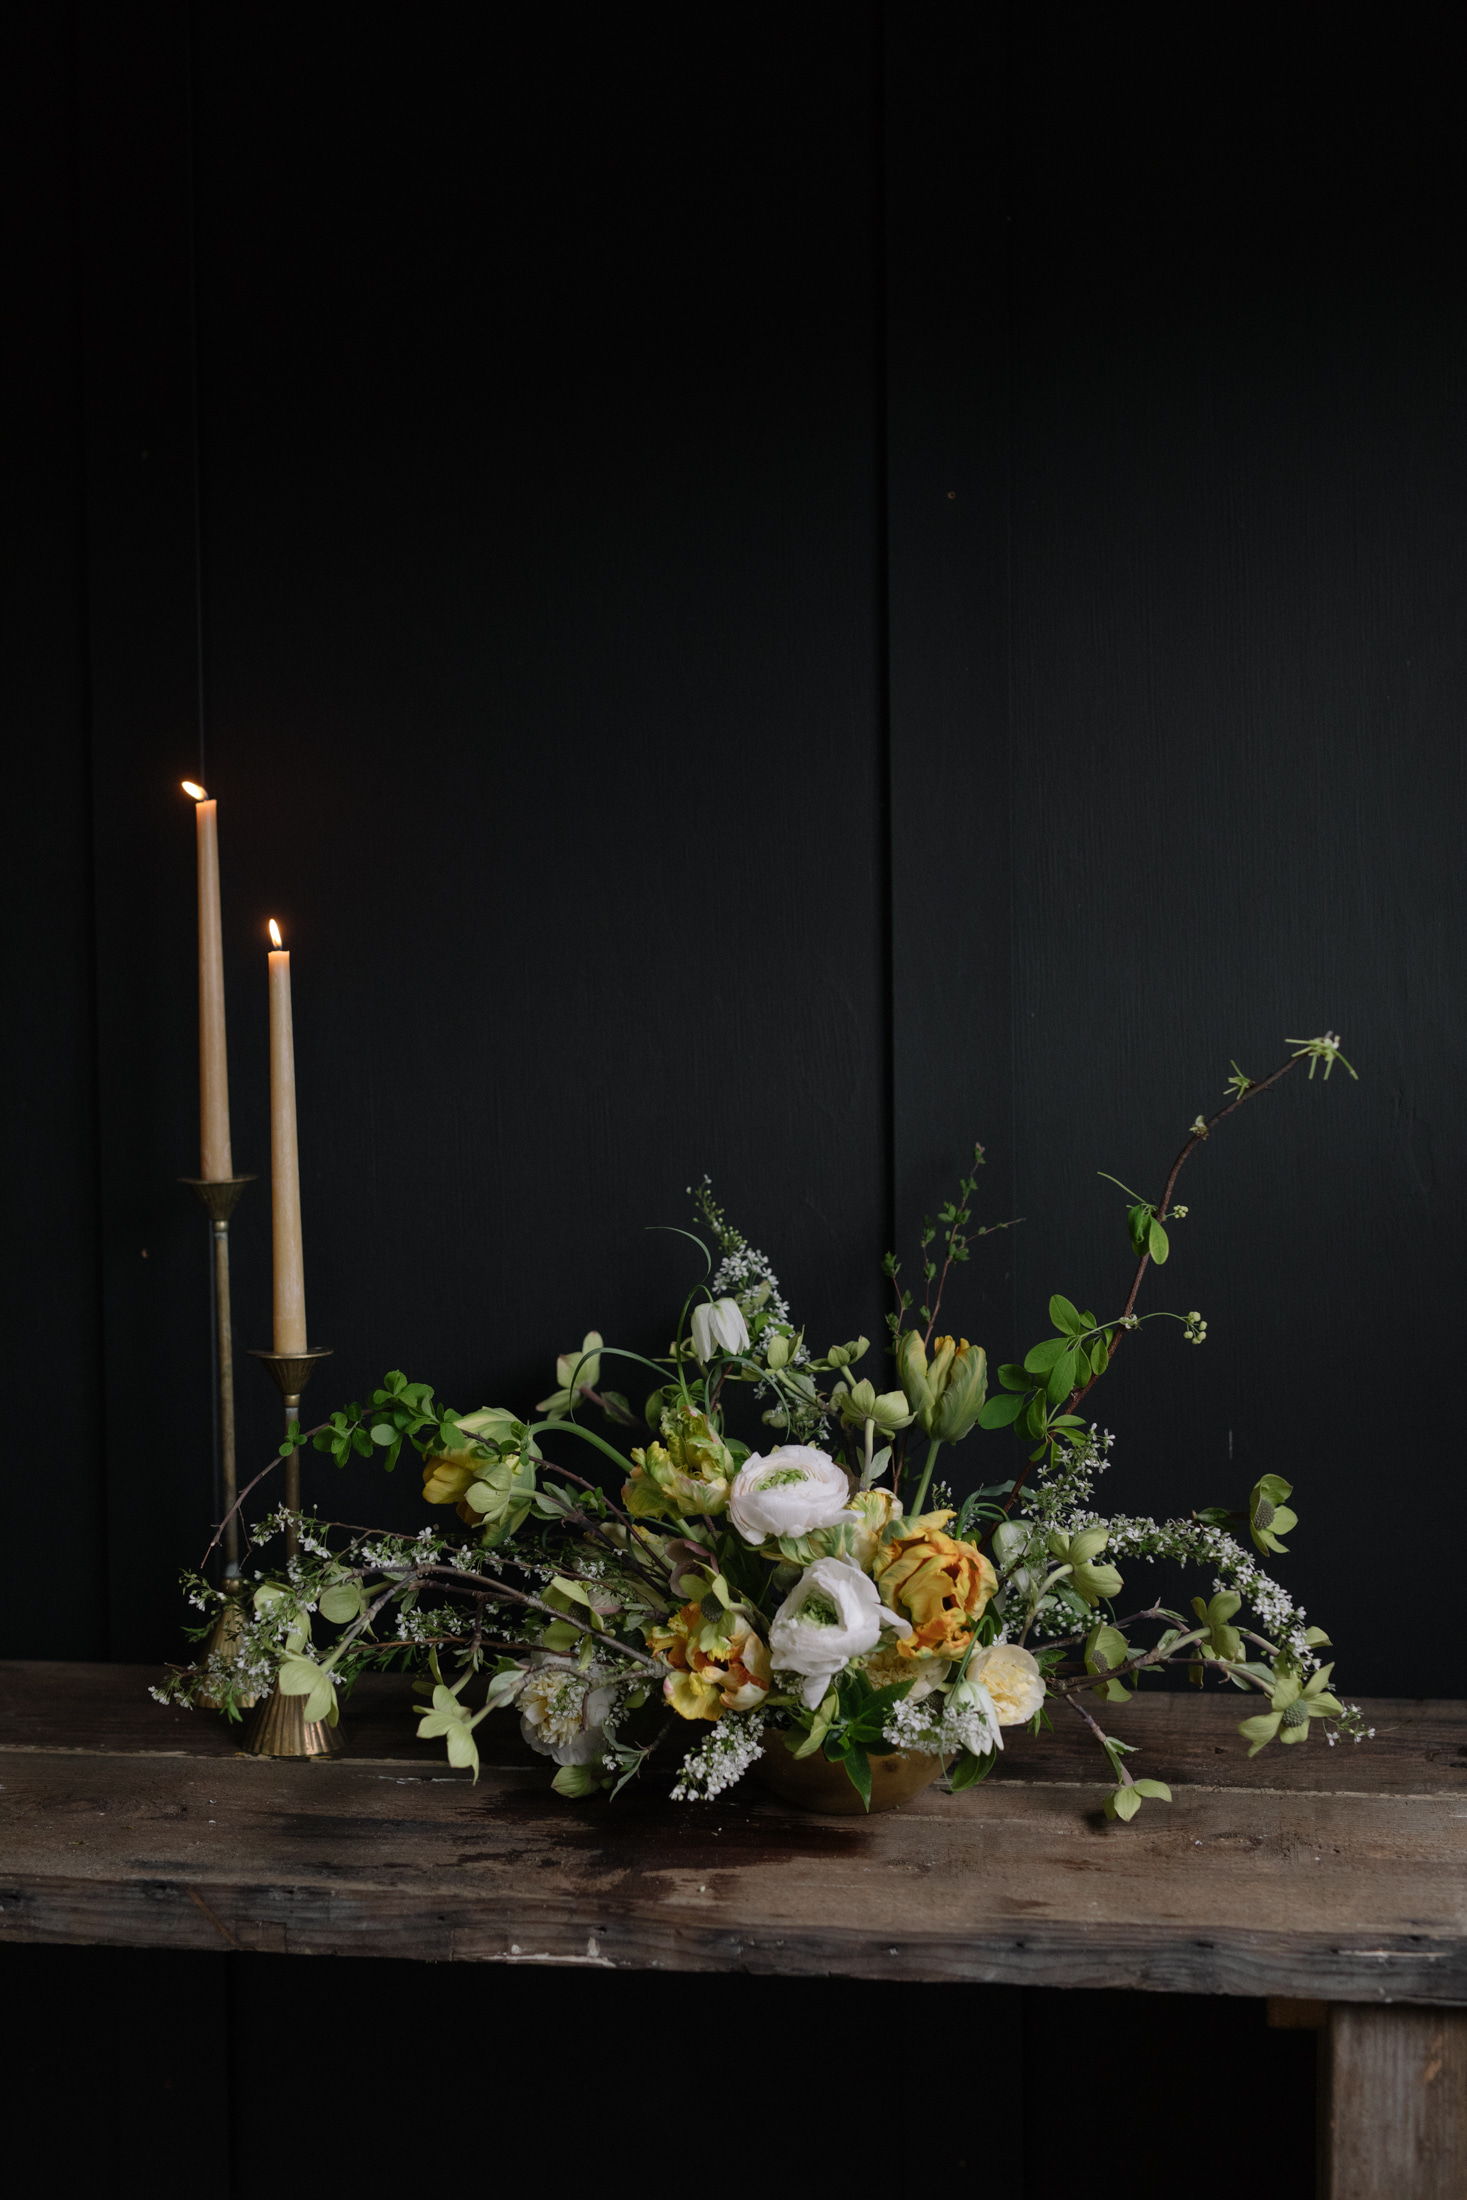
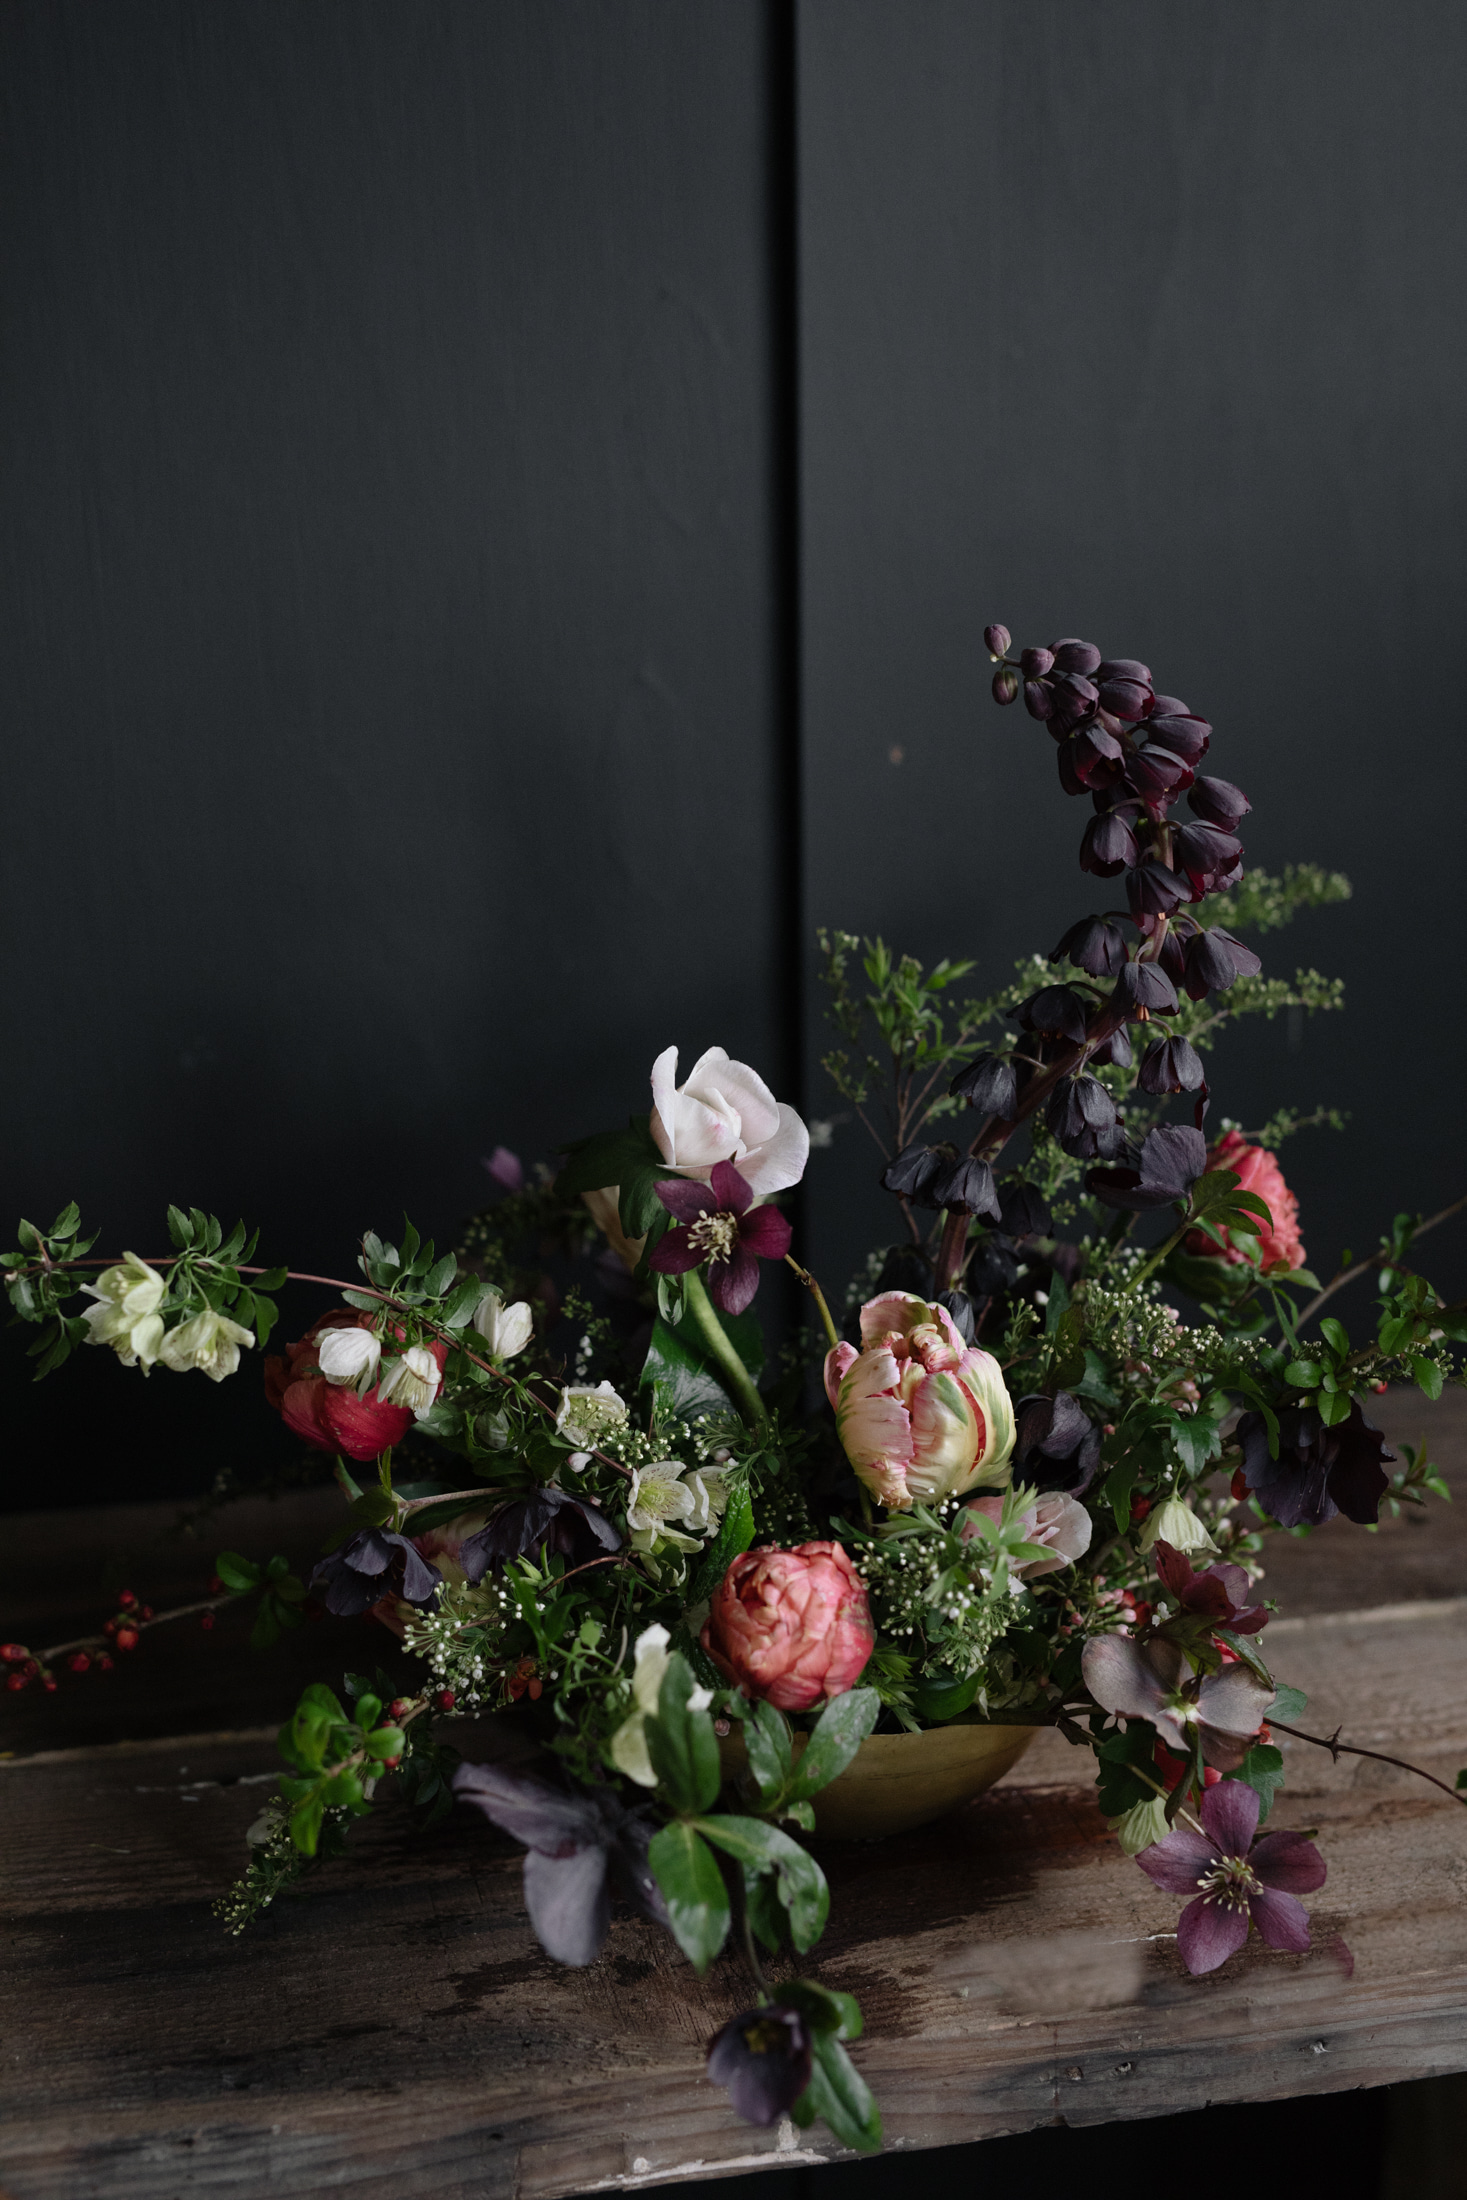
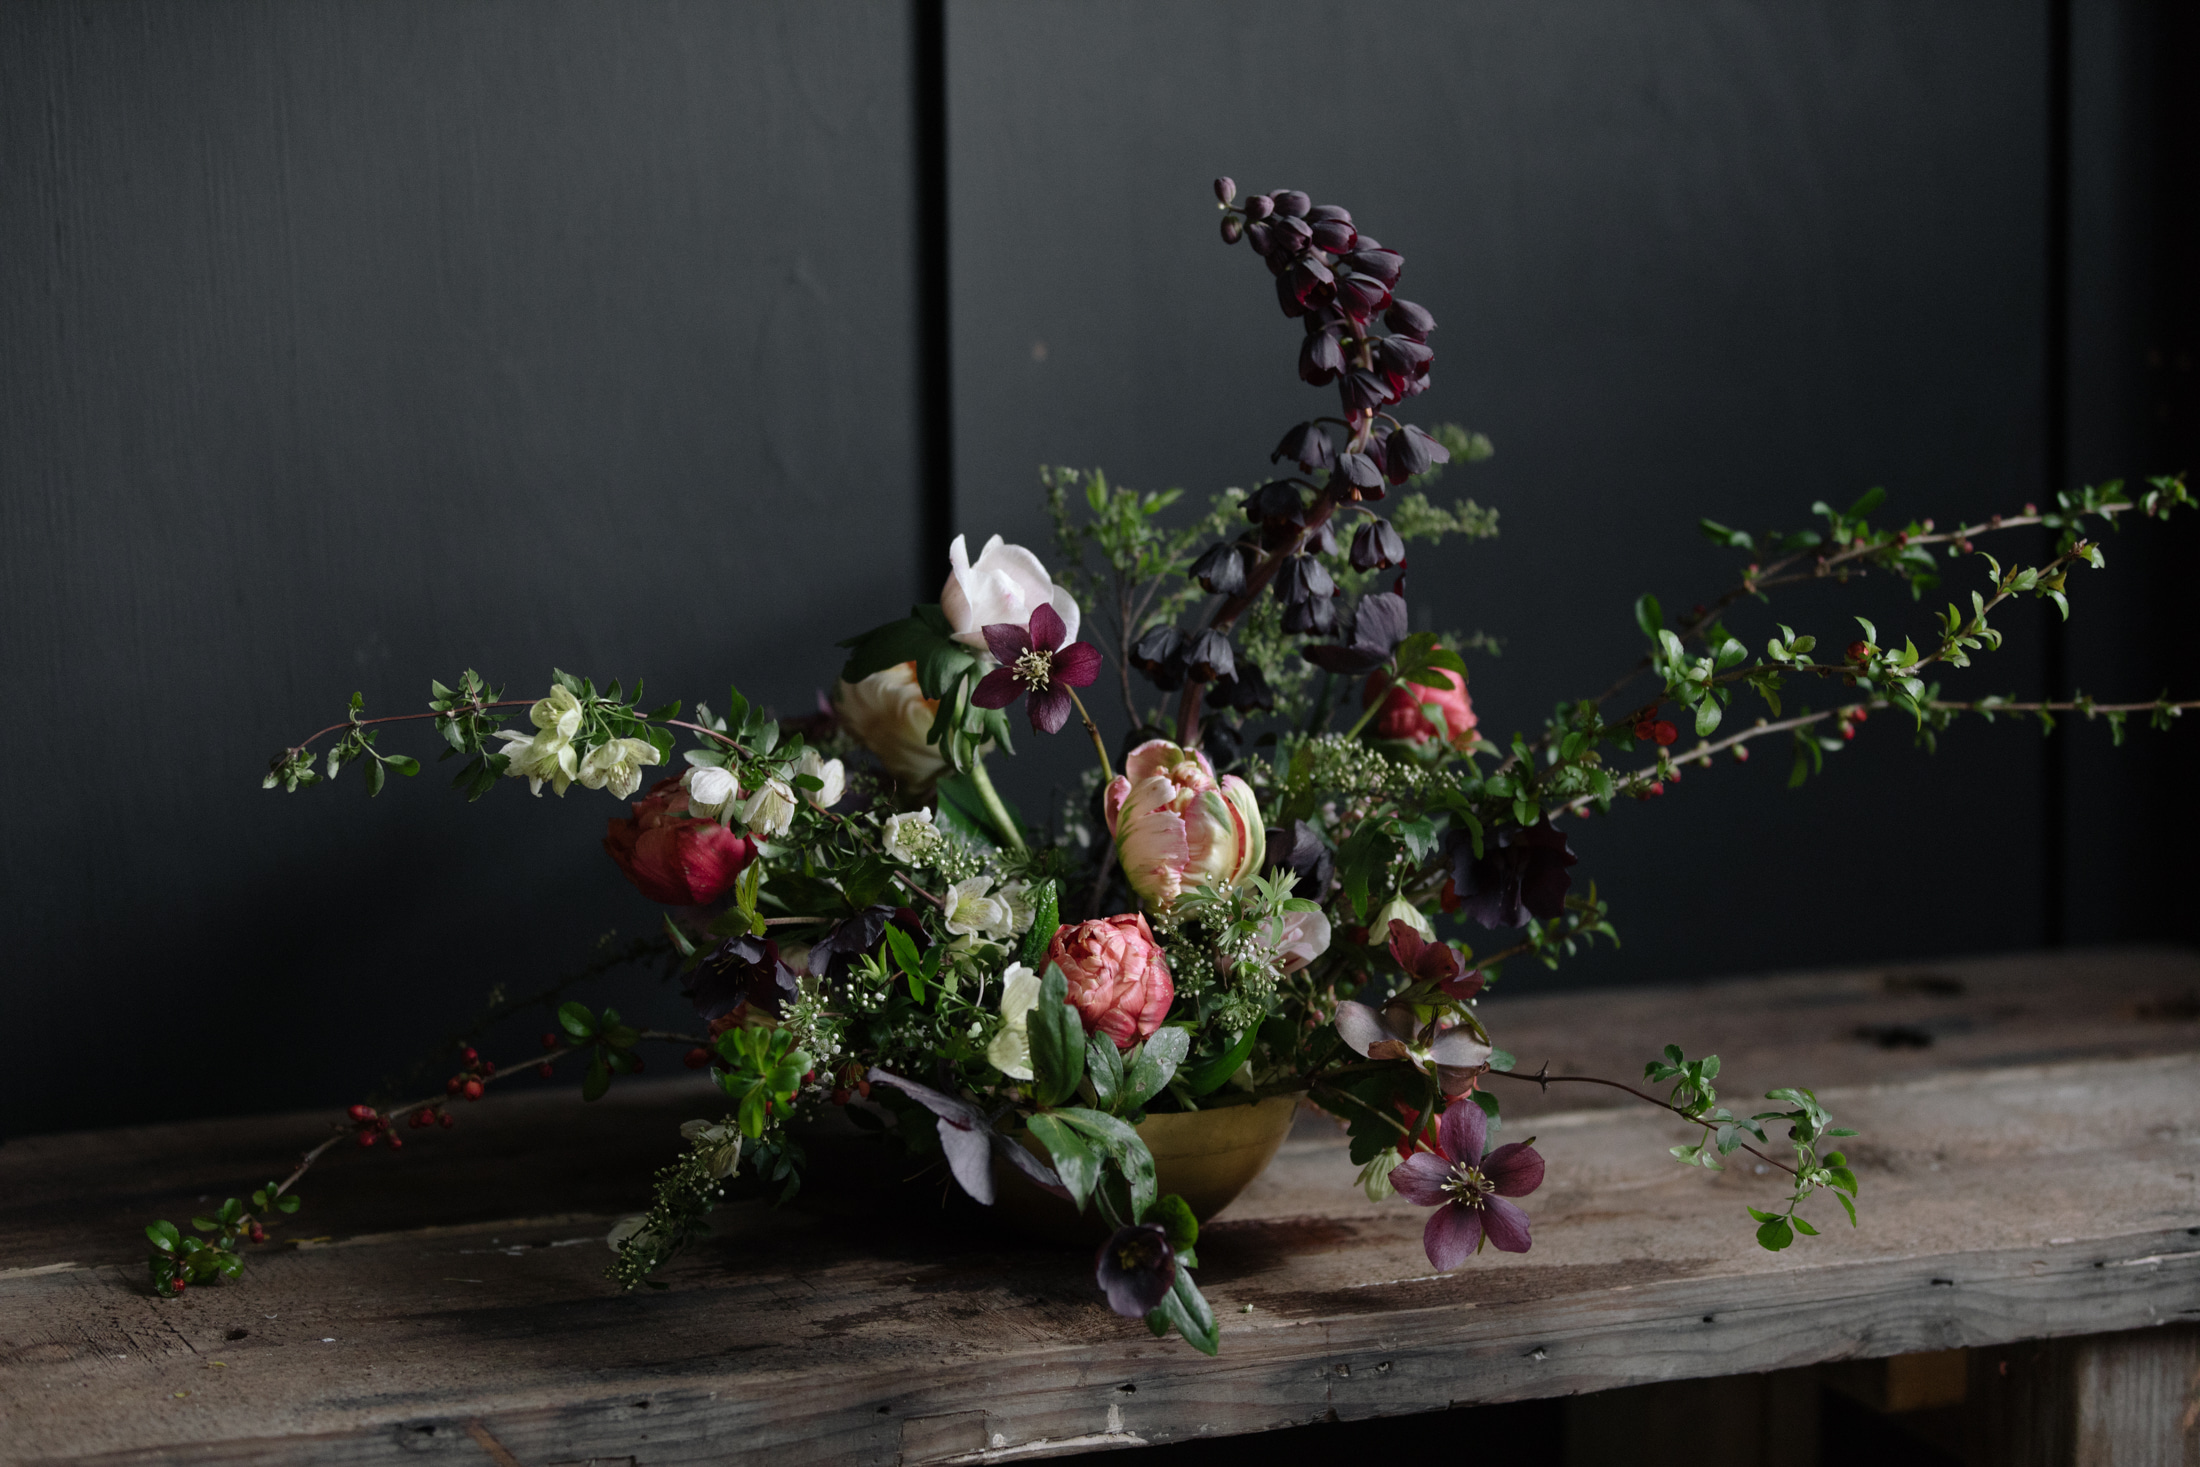
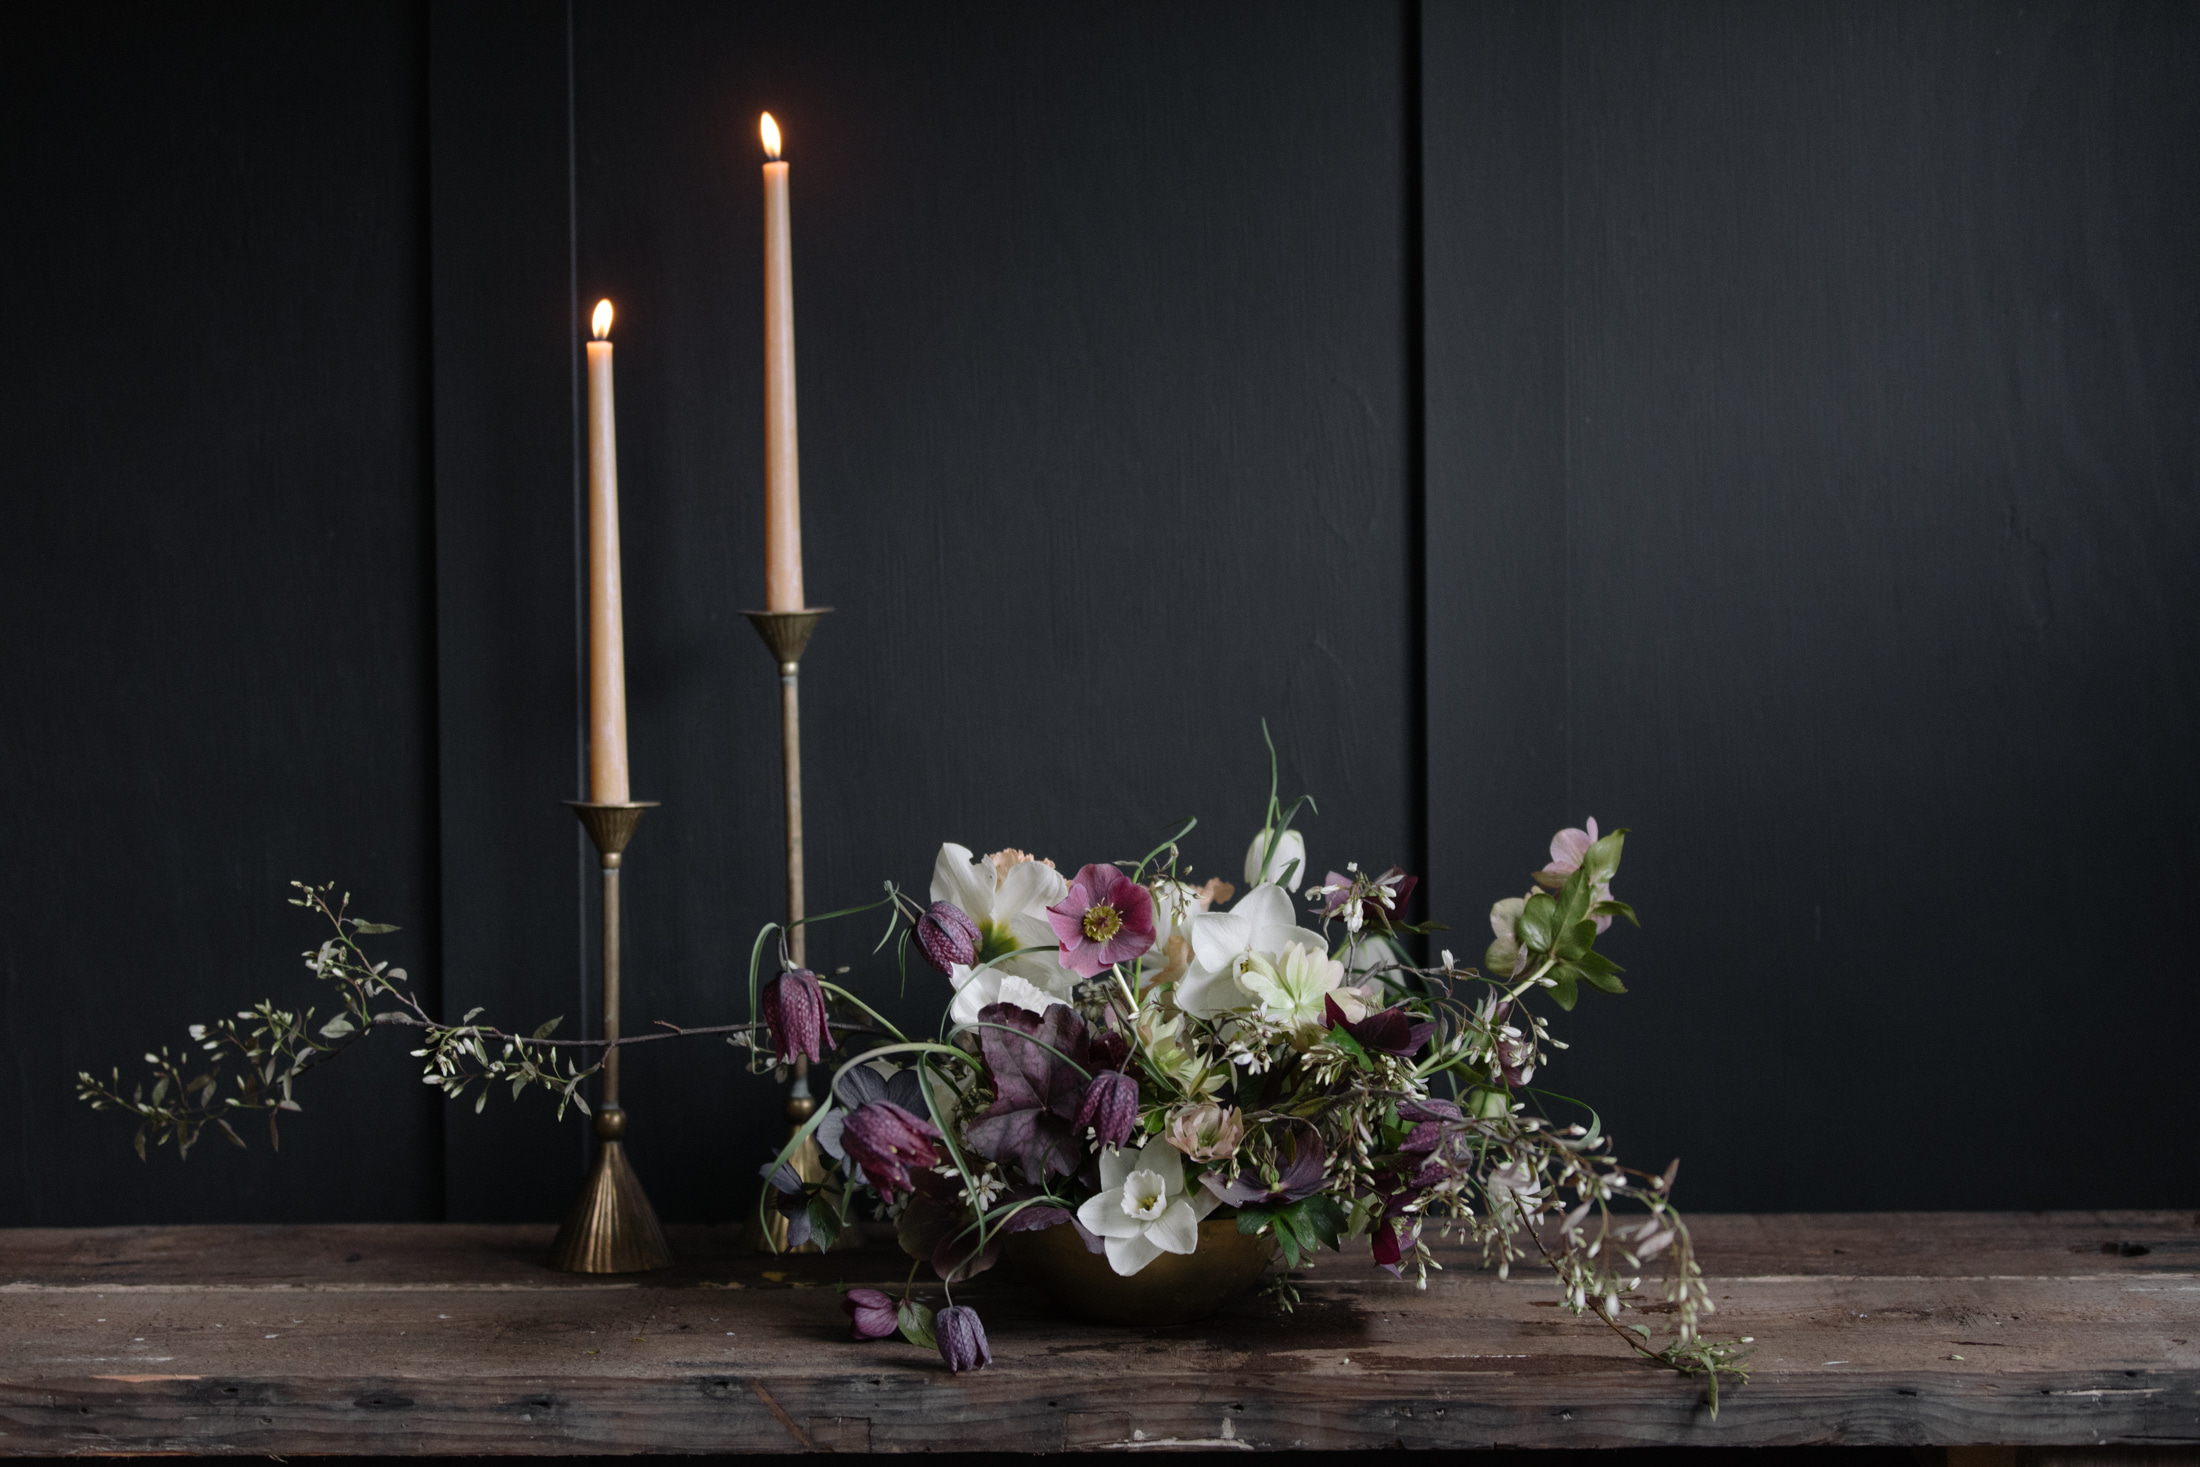
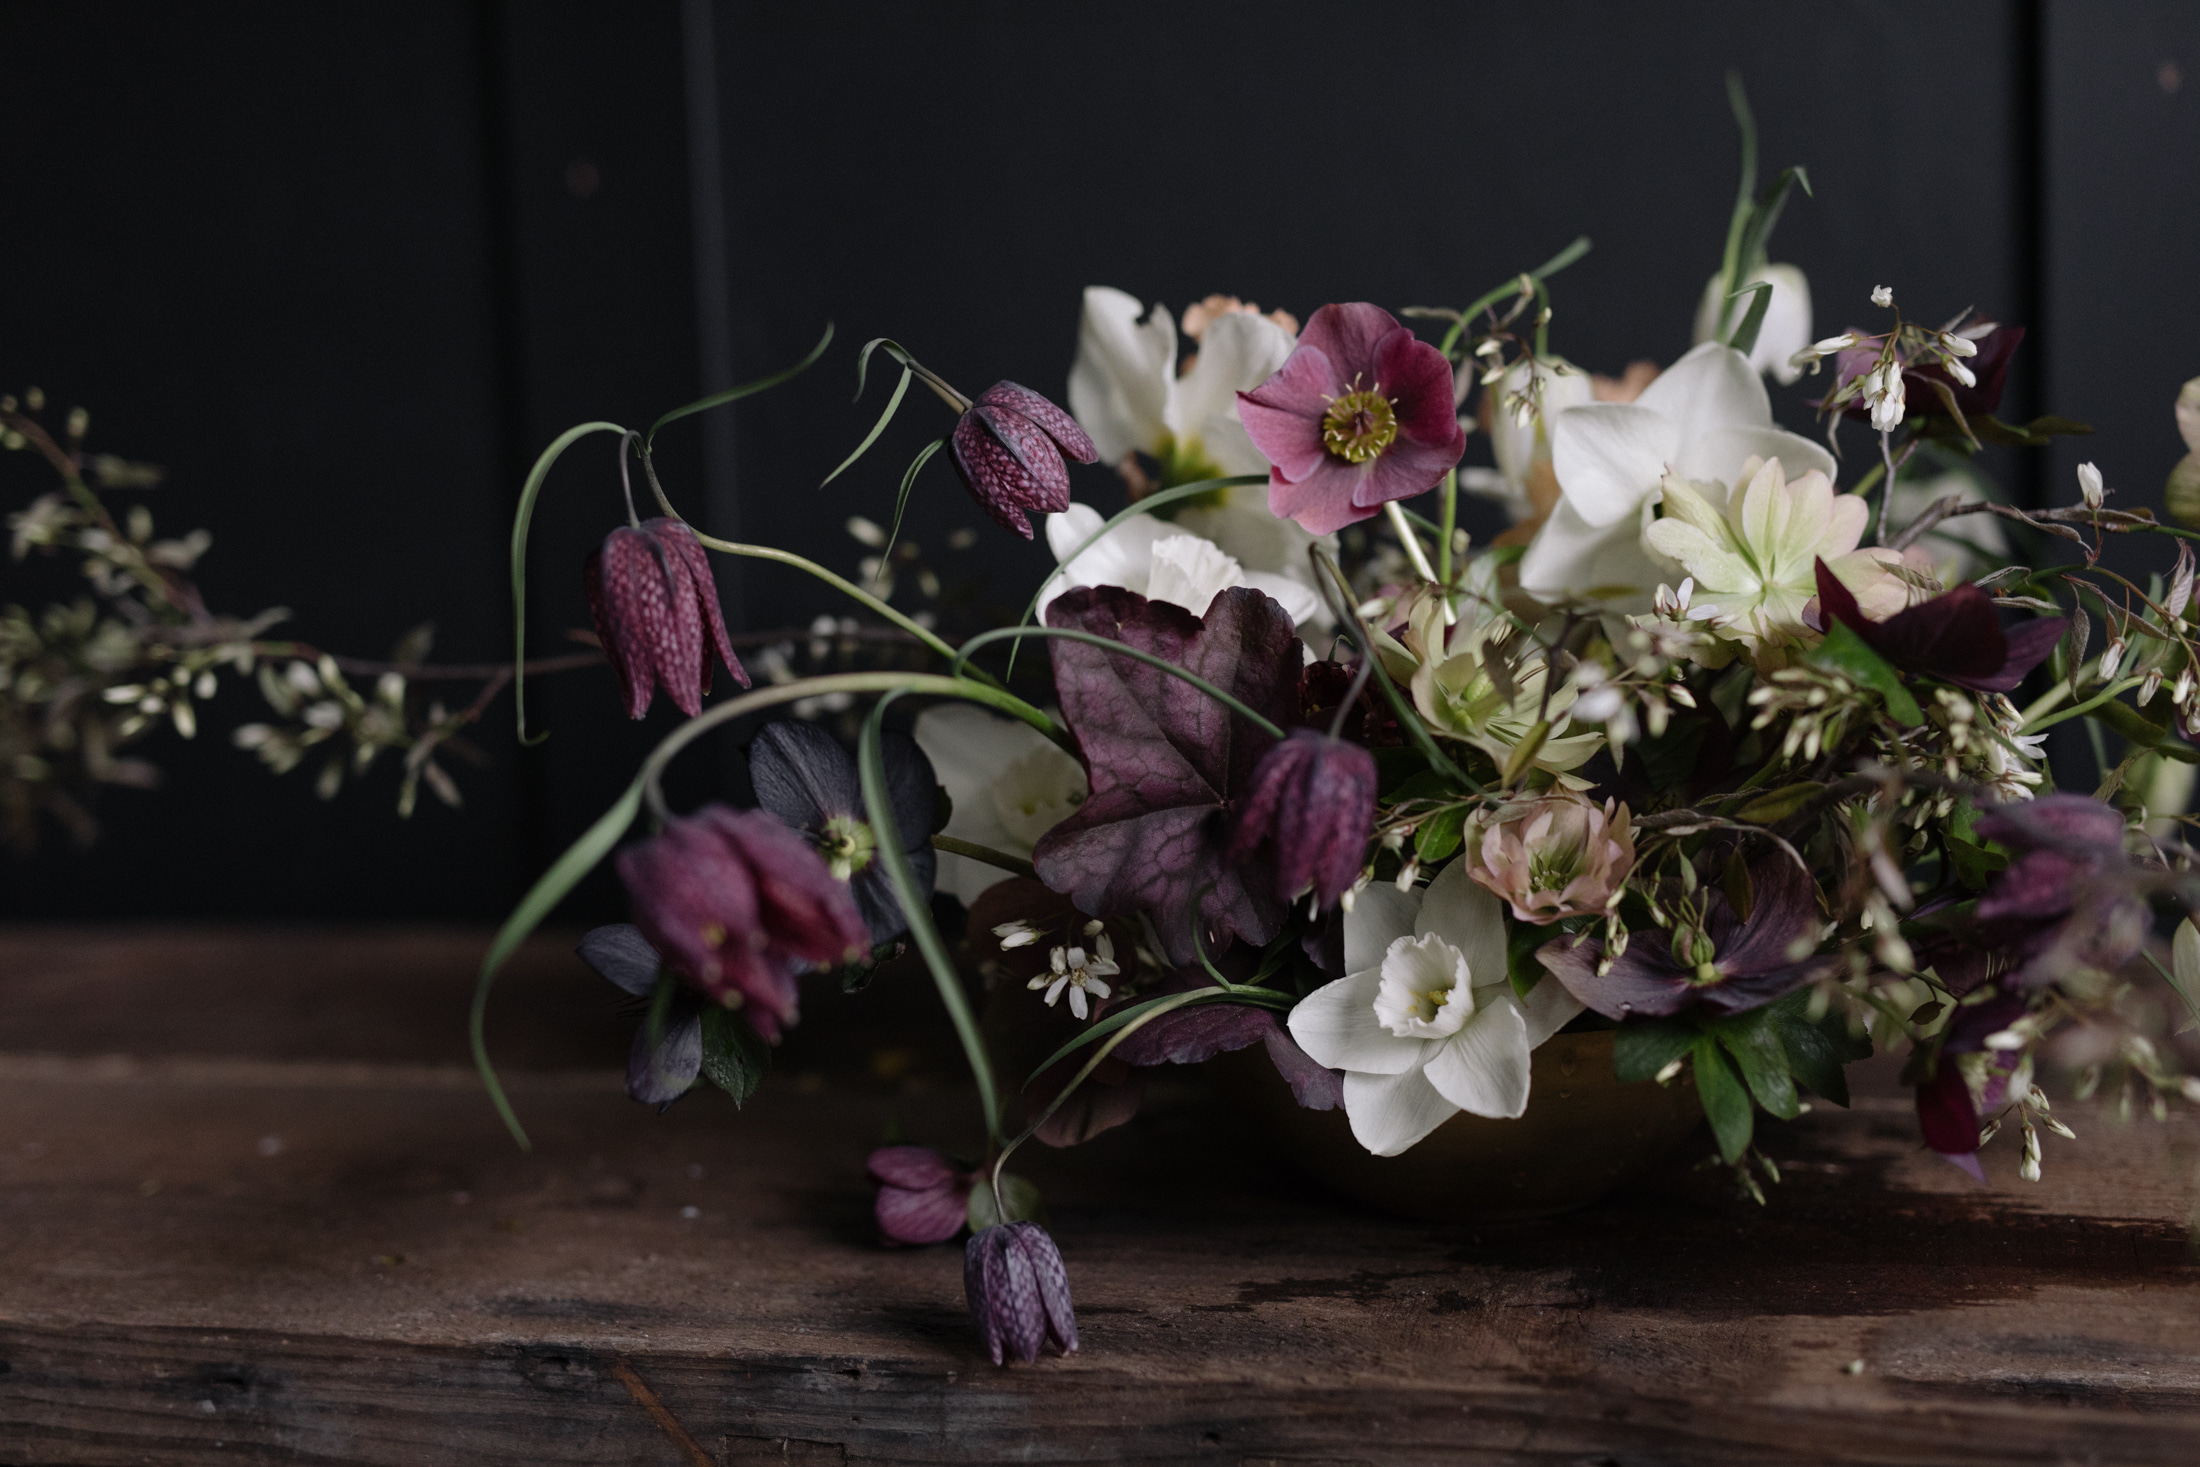
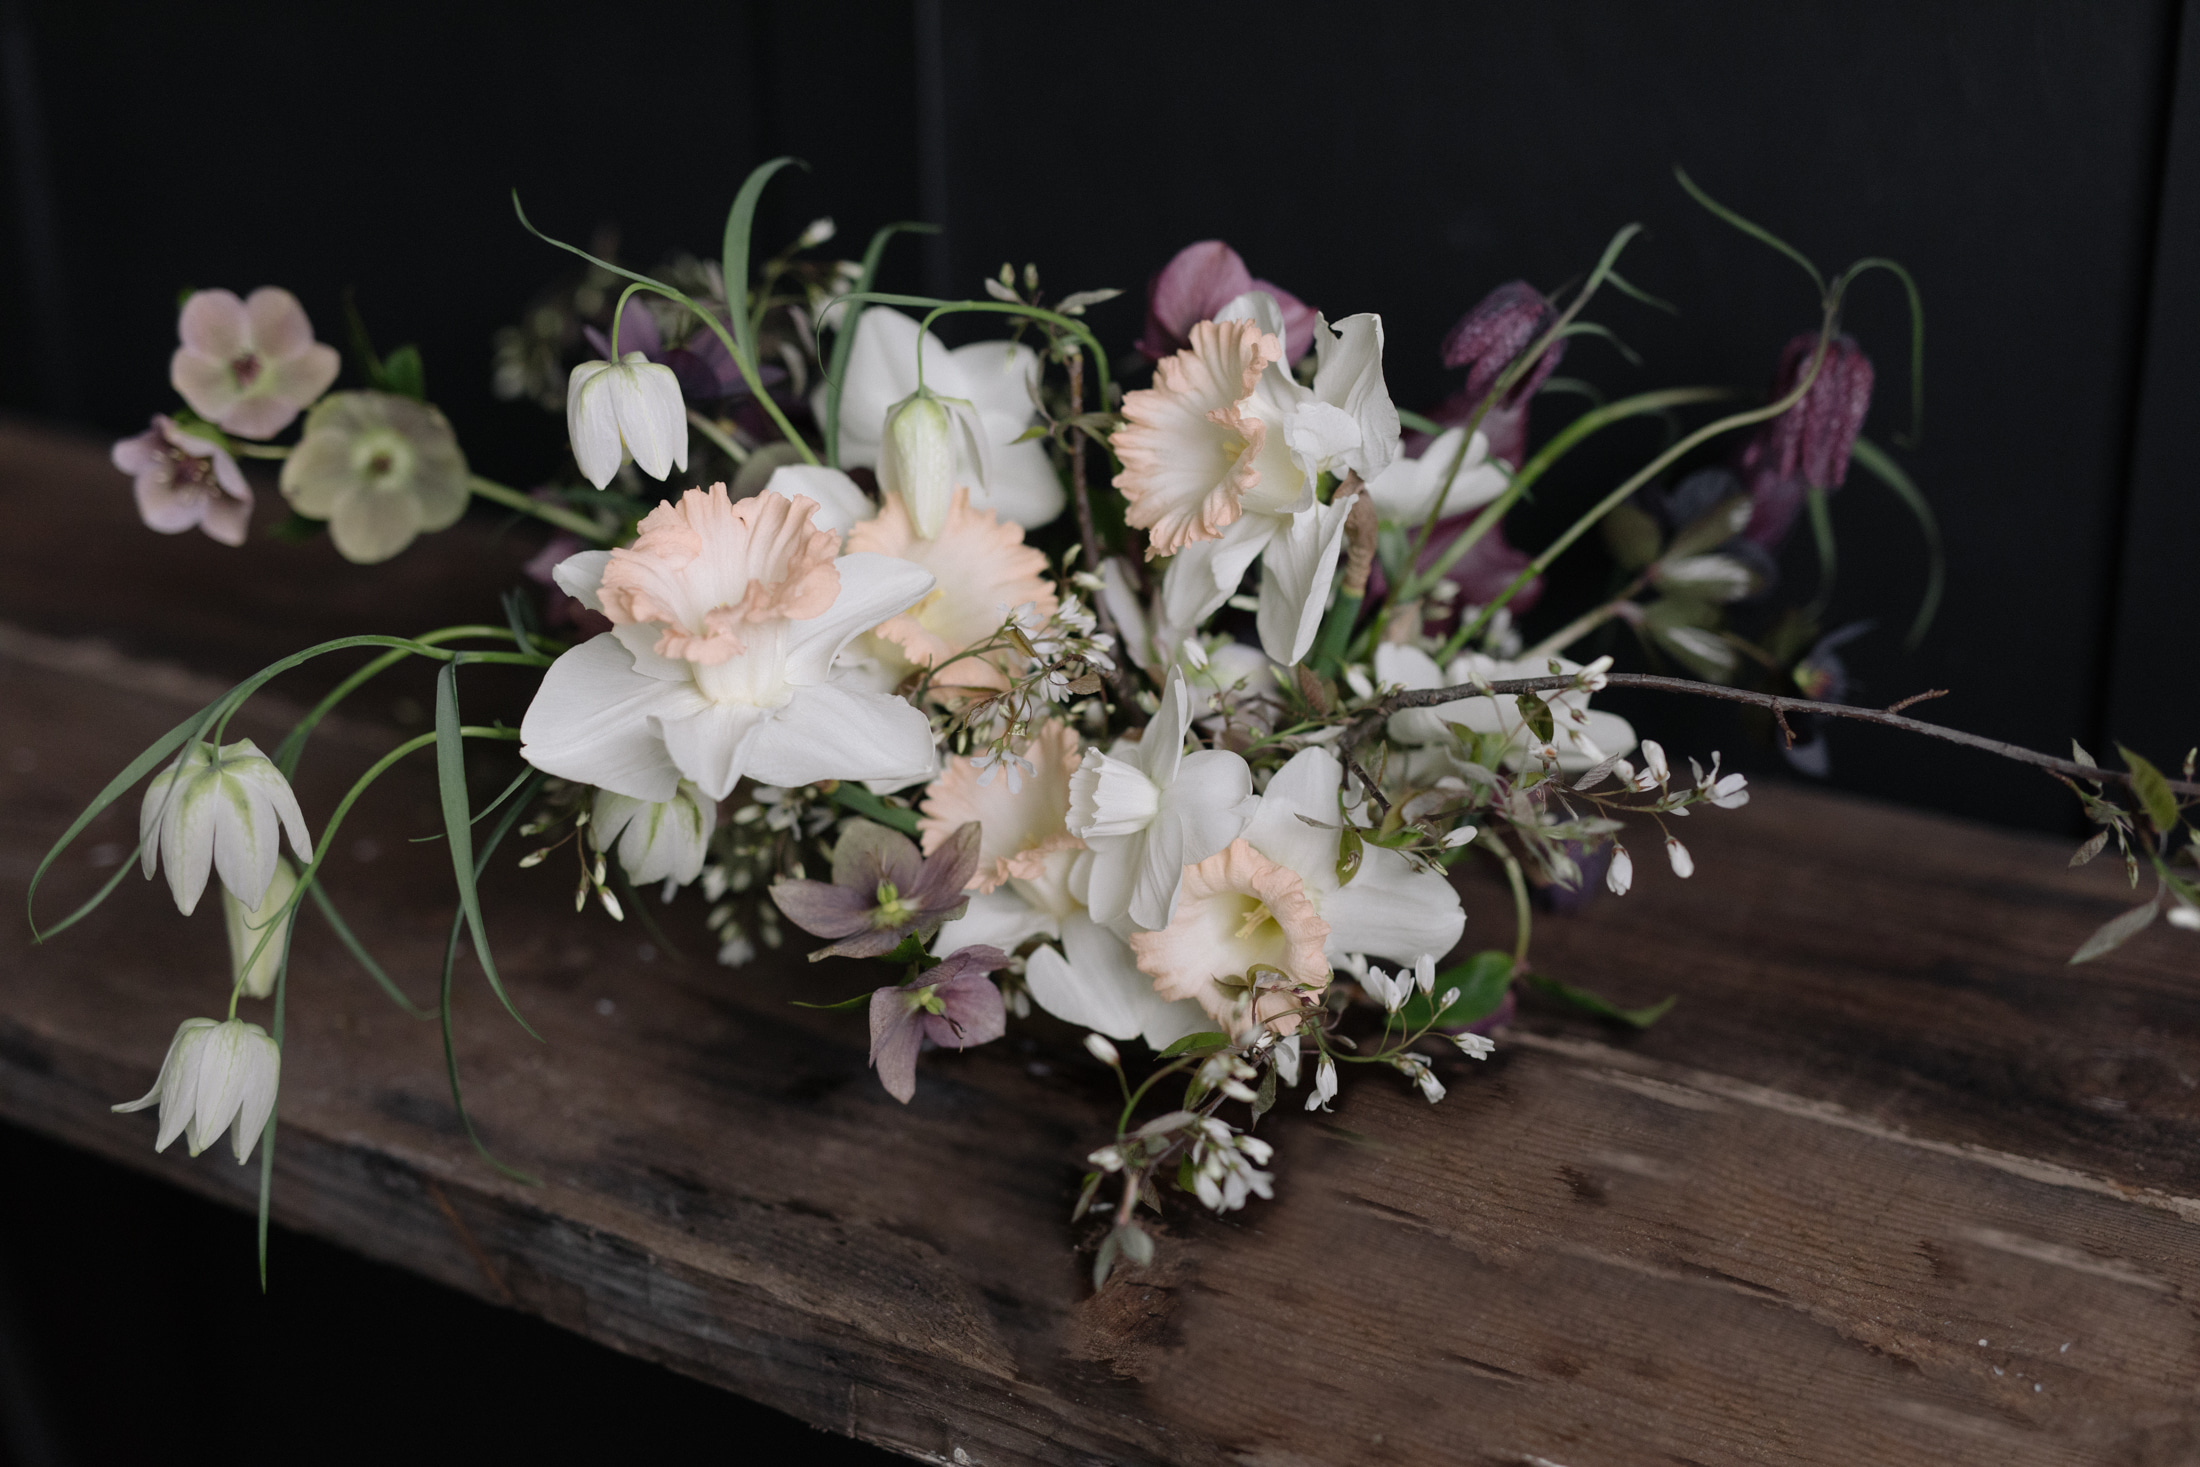
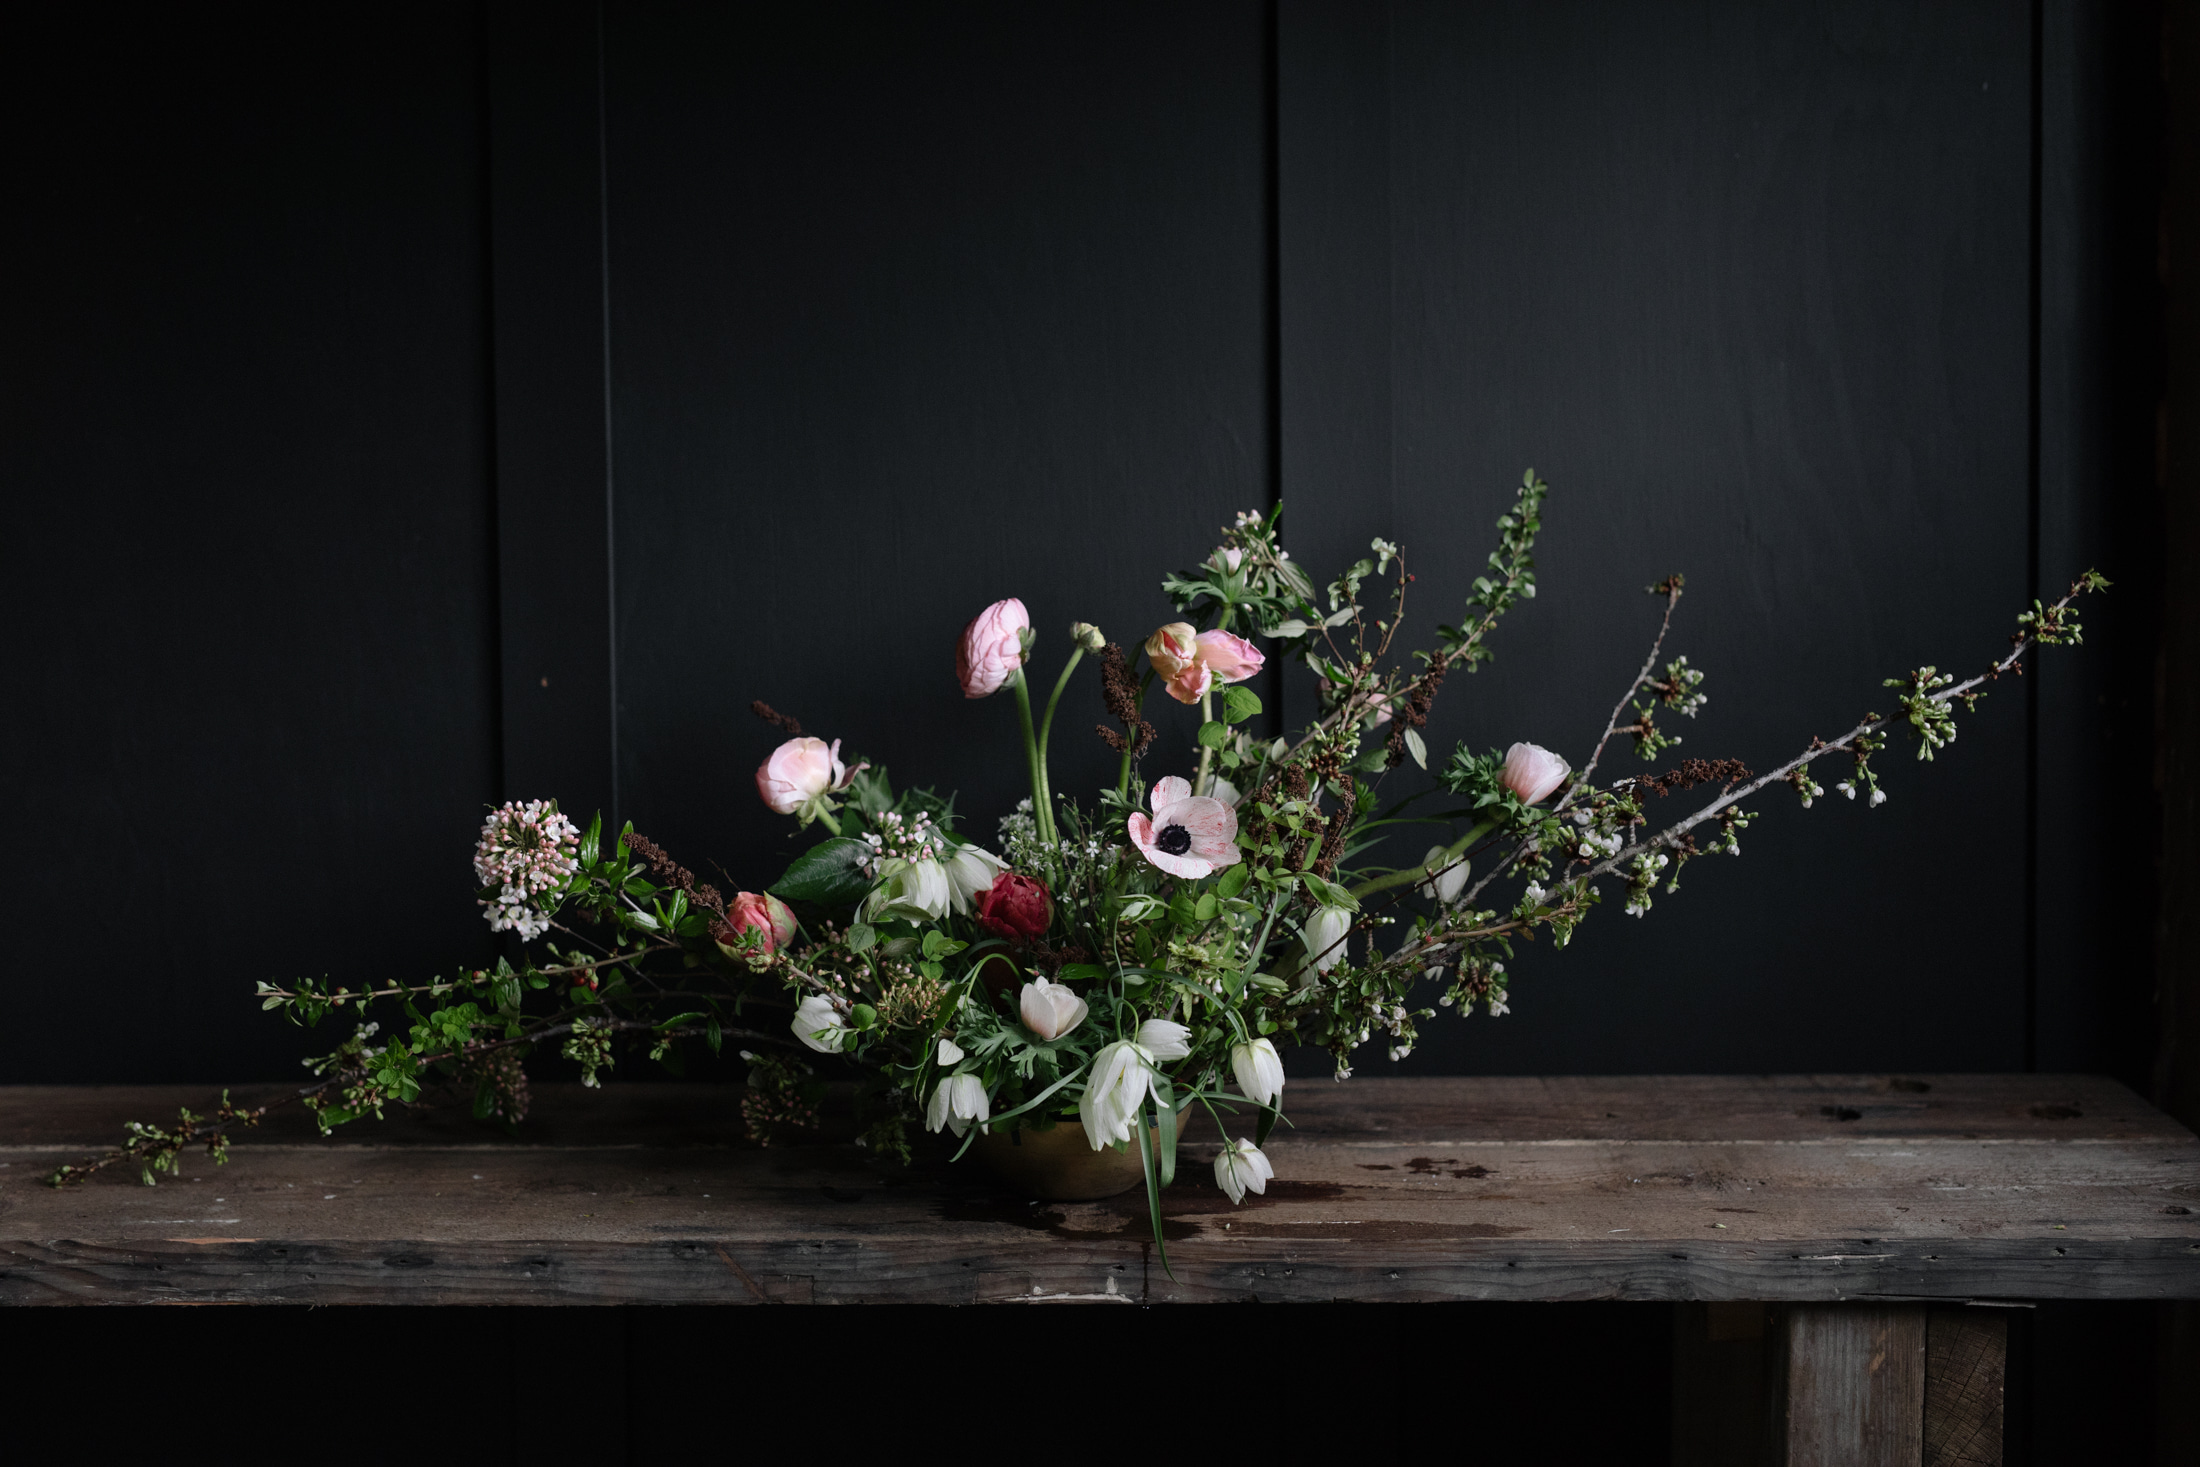
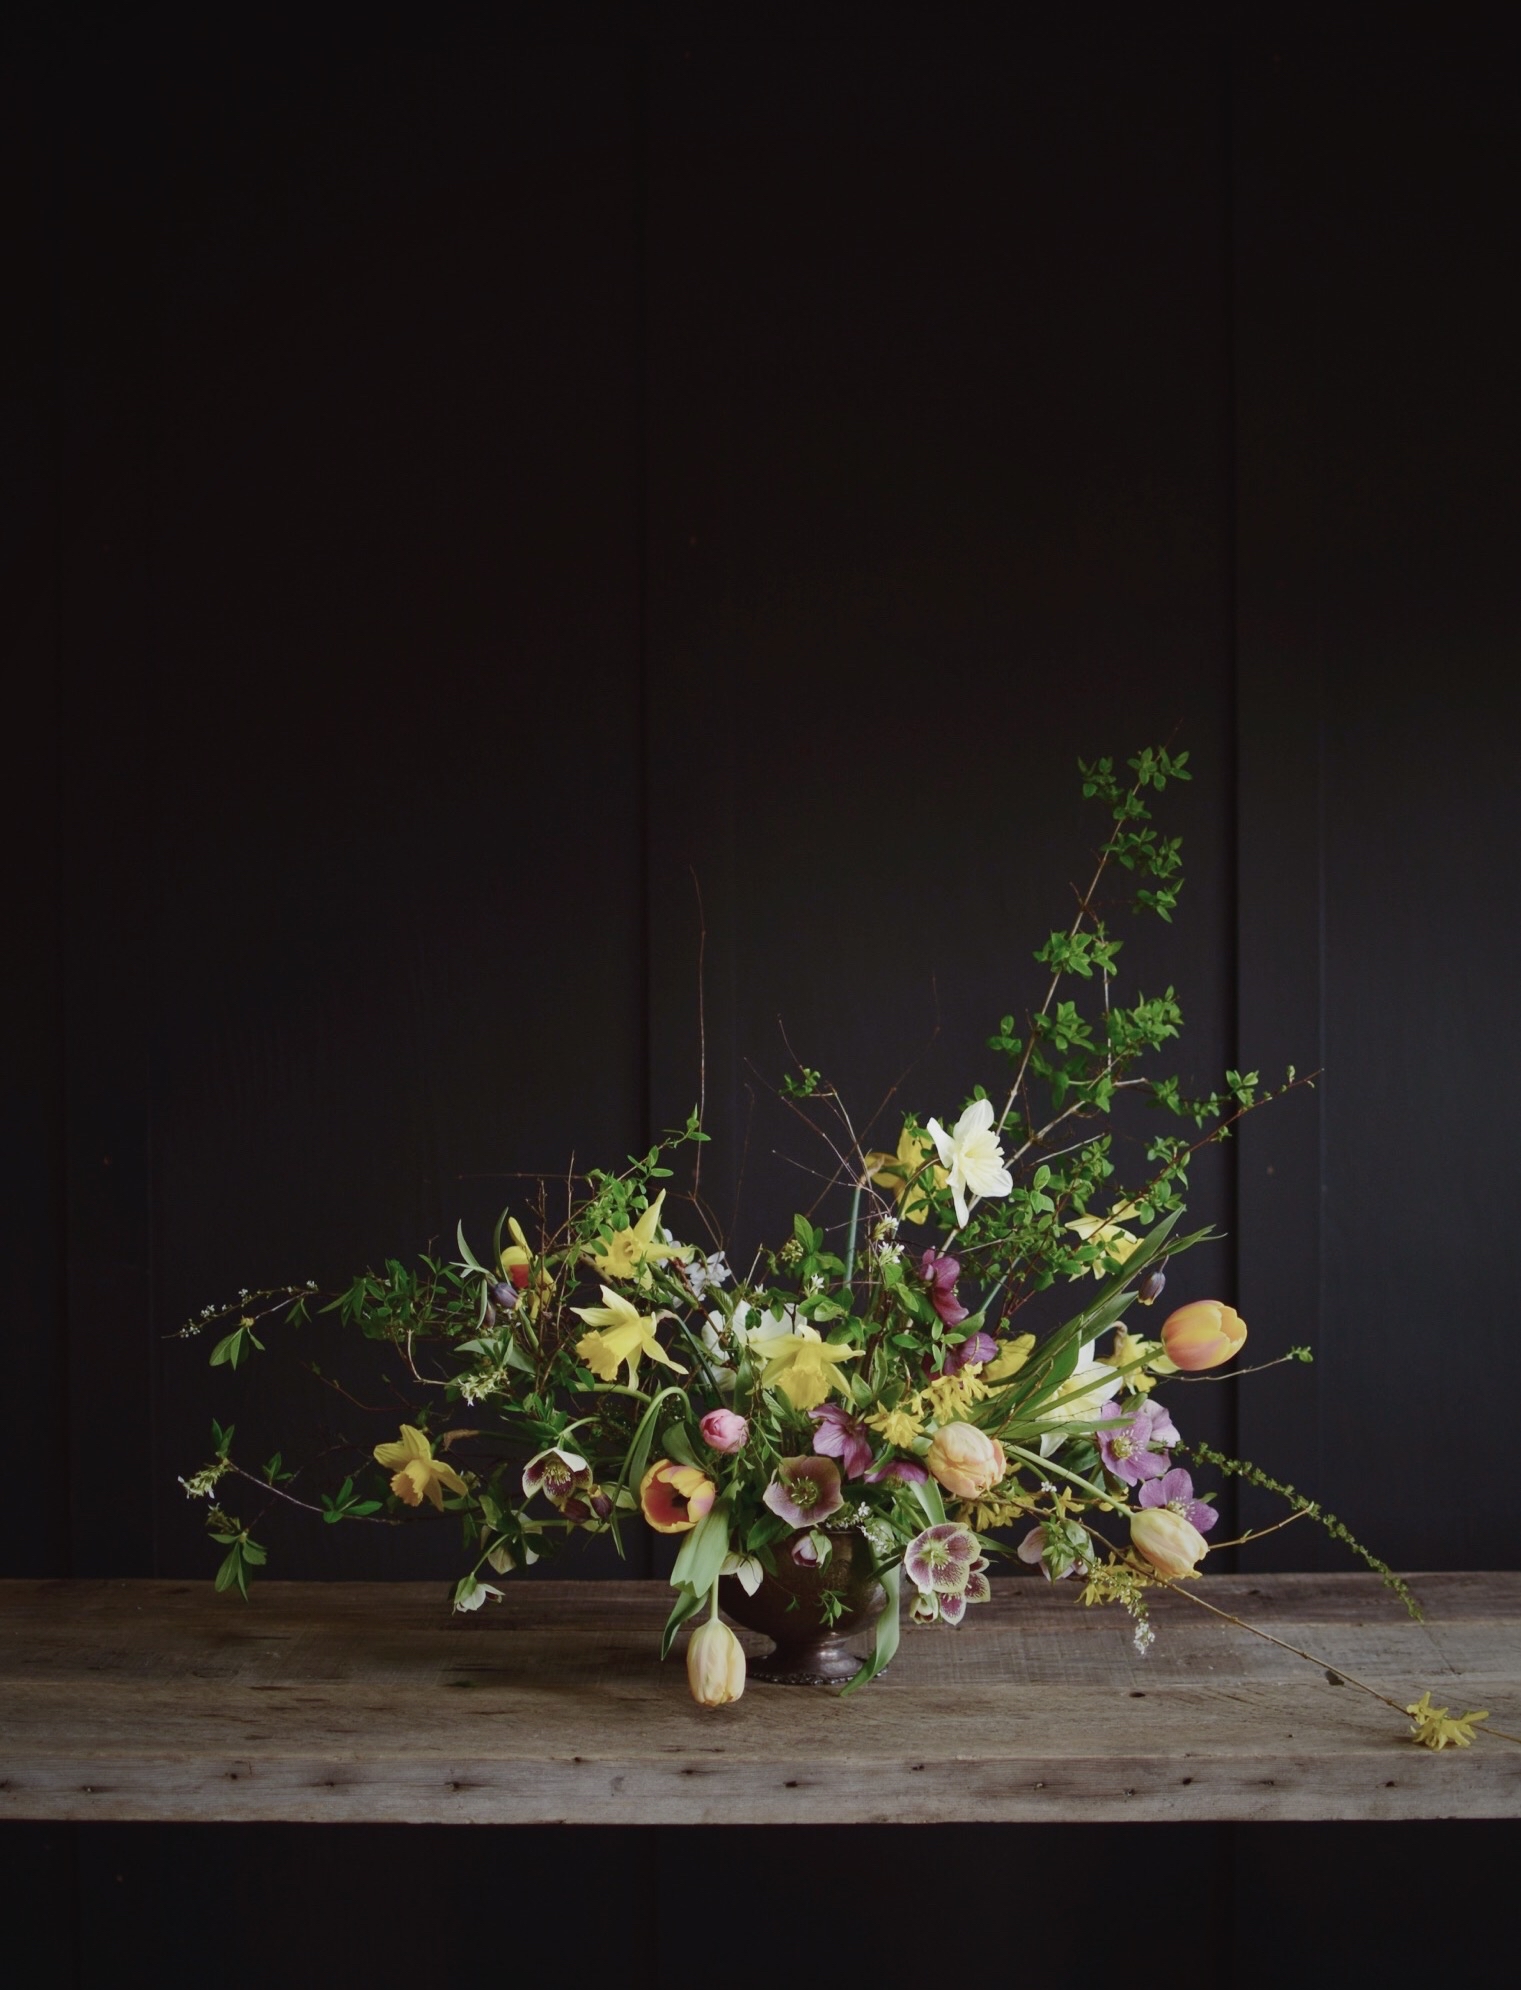
2. Keep your garden simple. If you need your garden to be profitable and manageable in the short term, focus on a few easy-to-grow, high-demand, cut-and-come again flowers (think chocolate cosmos, Queen Lime zinnias, balloon vine, Cafe au Lait dahlias), and save the rest of your wishlist for future years. Remember that a lot of your time needs to go into soil building, weed management, composting, etc. - all the things that will help to have a great season next year. Make sure you balance your short-term efforts with long-term efforts. 

3. Hone your skills in the absolute best organic gardening methods. Learning by trial and error is not something I recommend....I spent so much time and effort in the first few years just trying to figure things out and as a result I wasted a lot of that time and effort (and money!). Read up on foliar feeding, mulching, irrigation, etc...these are often the make or break skills for a garden enterprise. Read everything you can especially about how to support your soil. A quote from one of my favourite teachers can be helpful here:

"If you're in over your head, you haven't gone deep enough. Go deeper."

- Hiro Boga

It's 100% possible to have a garden that will produce lots of great flowers and not drive you crazy in the process. Make a plan, keep it manageable and realistic, and dive deep into the practice of gardening. And most importantly, don't let your sense of overwhelm hold you back. Take the first step, then the next. You've got this!

Fence building for my new rose garden.

Fence building for my new rose garden.

3 Tips for Buying Nursery Plants

Here in the Northern Hemisphere, we’re all coming out of hibernation and heading to the nursery to do our spring plant shopping. I don’t know about you, but I always buy too much and get distracted by the flowers. I know I'm not alone.

FGS_8.19.15-21.jpg

So as you head out to the nursery, here are a few tips for buying the best flowers for your cutting garden. 

Tip #1. Select your plants based on the foliage, not the flowers. 

It’s probably pretty obvious that of the two plants in the image below, the one on the right is the one to choose. There are way more leaves; the leaves are lush and a vibrant green. This is a way better option for you. But what if the plant on the left had several beautiful spires of flowers. You’d be tempted right? This is especially important for perennials. Plants with lots of foliage will have a stronger root system. Plants with minimal foliage and say a few buds aren’t likely to have as strong of a root system (the plant energy is being directed towards blooming rather than growth). 

Definitely go with the plant on the right. Lots more foliage and great colour in the leaves of this foxglove. 

Definitely go with the plant on the right. Lots more foliage and great colour in the leaves of this foxglove. 

In this case, both plants look healthy, and while I would typically go for the plants that aren't blooming, in this case, I would probably choose the plant on the left. It's a foxglove, which can produce multiple stems from a single plant. There's a…

In this case, both plants look healthy, and while I would typically go for the plants that aren't blooming, in this case, I would probably choose the plant on the left. It's a foxglove, which can produce multiple stems from a single plant. There's an existing bloom + there's fresh green growth which will also produce more blooms. Meanwhile, the plant on the right only has one branch that will produce flowers. 

Tip #2. Avoid root bound plants. 

The next thing you want to check out is if the plant is root bound. You can tell this by looking at the base of the pot. If there are thick, stiff roots coming through the drainage holes, then it’s root bound. Rootbound plants will take a bit more work to properly prepare before planting (you need to free up those roots). It’s not to say that you shouldn’t buy them, but just know that they may need more work. And if it’s a flowering shrub (which means it's slower growing and will naturally take longer to get established, it's really best to avoid it). 

Tip #3. Don’t buy stressed out plants. 

I’m always going on about is the health of the garden, and trying to minimize stress on our plants. If you buy stressed out plants, you’re setting yourself up for failure. Looks can be deceiving - a plant may have lots of beautiful flowers blooming on it but it may have few leaves, or leaves that are yellow, diseased, or if it may have weak stems. 

This poor catmint! Best to avoid plants like this, with weak, spindly stems and yellowing foliage. 

This poor catmint! Best to avoid plants like this, with weak, spindly stems and yellowing foliage. 

I was shopping with a friend recently who was fixated on buying a gorgeous hellebore but while the flower itself was amazing, there was very little foliage on the plant, and a couple of the leaves had signs of leaf spot. I gently nudged her towards the put that had no blooms but lots of lush, clear leaves. In the long run, she'll thank me ;)

Images by Kelly Brown. 

How to find the best Bearded Iris for your cutting garden

Perhaps more than any other flower, Bearded Iris have changed the way I look at nature. For my entire life, I thought of Bearded Iris as these sort of gaudy flowers in bright purple tones planted in municipal areas and gas station. They made me want to look away. Little did I know how breathtakingly beautiful these flowers could be. 

Bearded Iris are also an incredible cut flower. They have great staying power in a vase, and if you pick a stem with multiple blooms, the tight buds will slowly open as the older blooms begin to fade and shrivel.

And they start out in bright vibrant colours, but then they start to fade into the loveliest muted shades. Dreamy!

I've shifted my winter planning over the past couple of years so that most of my seeds and plants are ordered before Christmas, which leaves me free in the new year to study the Bearded Iris catalogues which usually come out between now and mid February. 

Many of the best varieties sell out early. So now's the time to oder. In the Northern Hemisphere, most Bearded Iris are shipped in the summer for early fall planting. 

Here are some of my favorites, some new ones that I'm adding to my garden this year, plus a few on my wishlist for future ordering. And below I've included a list of where to find the best varieties for your cutting garden. Some of the most beautiful (and most expensive - but hey, it's worth it) types come direct from those creating new hybrids each year. Keith Keppel, Barry Blyth and the Schreiner family have some incredible ones to choose from. 

Girl Gone Wild / Trails End Iris Garden, Canada


Earthborn / Schreiners, USA


Vintage Vibes / Suttons (USA)


French Lavender / Mid-American Gardens (USA)


Tuscan_Glow_thumb_200.jpg

Tuscan Glow / Keith Keppel (USA)


Dragon's Nest / Trails End (CANADA)

Enter the Dragon / Mid-American (USA)


Painted Words / Keith Keppel (USA)


The best places to buy Bearded Iris online:

http://irisofsissinghurst.com (UK)

http://www.trailsendiris.com (Canada)

https://www.schreinersgardens.com (USA)

http://www.tempotwo.com.au (Australia) - get them fast as they're closing their doors in June of 2017!

http://www.beardedirisflowers.com (USA)

https://www.suttoniris.com (USA)

http://www.keithkeppeliris.com/index.html (USA)


Top 5 Deer Proof Cut Flowers

In the spring of 2014, I posted on my old blog that 2014 would be the first year my entire garden would be outside the fenced area of our farm. The previous fall I had handed over my last plot of fenced land to the other farmers and expanded the large perennial garden outside our house that I have been building over the past few years. 

So, growing cut flowers with no fence in an area overrun with deer. You might think I was a bit crazy. But I approached this project very tentatively. I spent a few years experimenting with finding just the right plants that the deer won't bother and that I can use as cuts in the studio. 

Based on that experience, here is my top 5 deer-proof plants for the cut-flower garden:

1. Peonies - no matter what's going on, the deer won't eat my peonies - either the flowers or the foliage. I planted a few in the middle of their path to be extra sure, and not a single nibble!

2. Dahlias - the deer will very occasionally nibble some of the darker pink and coral varieties but haven't done any damage to my cafe au laits or white dahlias.

3. Fritillaria - all varieties do well; I've seen the odd nibble on the growing tips of F. Meleagris but that's all. 

4. Hellebores - I have a number of varieties around the garden and again, not a single bite on the flowers or the foliage.

5. Foxglove - all varieties are deer proof. 

In my Garden to Vase digital course, I share more flowers and types of foliage to consider if fencing isn't an option where you are. 

Image by Kelly Brown

Join Me In The Garden...Spring 2017 Classes Announced

Spring classes are now available for registration. 

I'm happy to announce a few spring classes here at the farm. 

The first class will focus exclusively on cut flower growing. I've had so many requests for this class and am excited to really dig in and spend some time in the garden. 

To learn more about this class, and other spring offerings, click here

p.s. classes regularly sell out so sign up early to avoid disappointment!

Image by Kelly Brown

Why You Need Molasses in Your Gardening Toolkit

I get a lot of questions about how to grow better flowers. One of the things I'm always recommending is foliar feeding. And one of the best things to incorporate into any foliar spray that you create is molasses. It's dirt cheap, easy to use and provides a rich source of carbohydrates for the microorganisms in your garden.

Molasses is a powerful natural biostimulant and a great food source for beneficial microorganisms in the garden.

It can be used on its own but is better when combined in a foliar spray with other microorganism-stimulating ingredients like compost tea or AEM (Actived Effective Microorganisms). Or, when watering new transplants by hand, just add some to your watering can. Be sure to use unsulfured molasses.


Here’s a simple but really effective foliar feed recipe using molasses:

Compost Tea Foliar Spray Recipe 

1.5 cups compost tea

10mL unsulphured molasses

10mL liquid kelp

5mL liquid fish

4 litres of water


Bulb Planting Auger

Being married to a guy who is obsessed with tools is a good thing. Whereas I can spend hours online researching flower seeds, bulbs and plants and regularly blow my budget at the nursery, my husband Geoff (a contractor and carpenter) does the same with construction and wood working tools. 

I was talking about my plans to plant 1000+ bulbs in the garden this fall. Geoff mentioned that I should get a bulb planting auger. I hadn't heard of this before and it sounded interesting but I didn't really pay attention. I have a tendency to tune him out when he starts talking about tools... 

But finally I did some research and realized immediately that I needed this tool! Unfortunately by that point, they were sold out (Lee Valley). I called all the local farm supply centres and nurseries and home supply stores. No-one even knew what I was talking about, let alone had them in stock. 

Eventually I found them on Amazon and ordered 2. They come in different lengths and diameters, so I got one for smaller bulbs like tulips (2" diameter) and one for larger bulbs like fritillary persica (2.75" diameter). 

And wow, did this tool ever deliver. Take a look at how fast I was able to create my planting holes.  

A few things to point out:

  • You can see that I'm brand new to using this tool. I was a bit hesitant but I used it later on in the day to plant the rest of my bulbs, and once I had some practice, the whole process was much faster and smoother. 
  • I was using a corded drill. For drilling in smaller areas in soft soil, a cordless drill would work just fine. The more tough the dirt and the more holes you need to drill, the more power you'll need. 
  • It's a bit tricky to drill a lot of holes all at once without stepping on the beds (which is a no-no if you want to avoid soil compaction). I found that the best way to approach it was to stand in one spot, drill about 6-8 holes right in front of me, then step sideways along the length of my bed, drill another set of holes, and so on. If drilling holes on a lawn for example, where you would be walking anyway, it would be much faster.  
  • Drills have a reverse button which lets you reverse the rotation in case you end up drilling too deep and get stuck. You'll see in the video that I used this a couple of times. So awesome. 
  • What I love about the auger is that it lets you get quite deep in the soil. Over the past few years I've been experimenting with planting my bulbs deeper than typically suggested - this way I can create various layers in the soil - narcissus down deep below the roots of a perennial for example. This tool lets me do that really easily. And there are other augers out there that let you go much deeper than the one I'm using. 
  • I also love the precision it provides with each hole. With the auger, I can either plant each bulb in perfect rows with identical spacing, or wild and uneven, and either way, I'm saving time and not breaking my back. Perfect. 
  • So worth the cost. I bought this off Amazon for $40-ish CAD. Even if I had to buy a drill (est. $150 CAD minimum) it would still be worthwhile. If the cost of buying a drill puts you off, you could also rent one or borrow one from your neighbour in exchange for a some flowers come spring ;) 
  • Geoff recommends using a 1/2" drill. And he says that larger, more powerful drills are best for this sort of thing as they will spin a bit more slowly and therefore give you more control.
 

Free Training: how to create a thriving cut flower garden


Dahlias are among the easiest cut flowers to grow. That said, they are a magnet for destructive (and vile) earwigs. If you're growing flowers to design with, the last thing you want are earwigs crawling around in the finished designs! 

Starting October 4th I'm offering a free training on cultivating cut flowers where I show you how you can remove earwigs from the equation once and for all. No tricks or chemicals or shortcuts - just proven organic gardening techniques that can help you grow the most beautiful and healthy flowers possible.

What you'll learn will apply to dahlias, but also all sorts of cut flowers - roses, peonies, hydrangea and more. 

Sign up now to reserve your spot! 

p.s. This free video training series will only be available for a limited time. The entire training will run from October 1st through 17th and then will disappear. 

UPDATE: The training is now closed for the season. 

Coming soon...

It's been just over a year since I first had the idea of creating a digital course on cultivating cut flowers. It's been an amazing year. All through the fall and winter I created the content and the course membership site, and launched for the first time this spring. 

The reason I started growing flowers, about 8 years ago, was because I had just moved here to this beautiful farm and wanted to support the local bees and other native pollinators. But the reason I kept growing flowers was because they became a major creative outlet for me, and helped me launch and define my floral design business. 

Right now, dozens of students from all over the world get the chance to login to the site anytime they need to and find the exact tools, strategies and info they need to help them grow the most beautiful cut flowers possible. There are floral designers like myself, dreaming of creating their own cutting garden. There are aspiring growers who want to provide the raw beauty for others to design with. There are women getting married next year who want to grow their own wedding flowers...it's an amazing community. 

Since I started my business, the floral design industry has changed dramatically. Whereas it used to be the rare bride looking for a garden-inspired aesthetic, it's now almost every person I encounter. Having my own cutting garden has allowed me to work with clients I never would have otherwise. It's been a game charger for me and I know it has for many other designers. Look at Saipua and Ariella Chezar - they've both started their own farms in response to the demand for the freshest, most unique flowers from their clientele (and they are both doing such a beautiful job!). 

In a few weeks, Garden to Vase opens again. I'm busy working behind-the-scenes to get everything ready, and also creating some exciting new content that will be added to the course this fall. 

Curious? Head on over to www.gardentovase.com to learn more. 

7 Things I Wish I Knew Before I Started Growing Flowers

I can't turn back time, but if I could, here’s what I would say to the me that was starting out creating my cutting garden years ago:

Plant more trees and shrubs

All I grew in the beginning was annuals. Then I started adding in perennials. What I wish I had done from day 1 was plant a few large trees (think magnolia, dogwood, katsura) and shrubs (think lilac, spirea, nine bark). Materials from these sorts of plants can really make your arrangements come alive. You can never have too much!

Feed the garden, not the plants

Yup, I said it. You don’t need to worry so much about feeding your individual plants; and you need to worry even less about the feeding requirements of individual species. If you instead switch your focus to feeding the soil and supporting the overall garden ecosystem, the plants will take care of themselves. 

Create raised beds

If you have clay, you should grow in raised beds. It will extend your season and make your gardening much easier. Doing this has let me overwinter my dahlia tubers in the ground, in addition to a bunch of other benefits. 

Incorporate a bit of design ethos

Let’s say you’re ordered 70 peony tubers. Instead of planting them all in one big bed by themselves, spread them throughout the garden, intermingle them with your other flowers. This way, you’ll create a more beautiful garden, and if your sun exposure varies through your garden, you will also have peonies blooming at different times ;)

Don’t buy too much all at once

It’s great if your supplier gives you a good deal, or you get seduced by that flat of scented geraniums, but trust me, if you didn’t set out to buy it, and aren’t sure if you have room for it, don’t do it! Wait till you know you have a good, ready - to - plant spot. 

Aim for diversity in plant selection

Instead of getting 12 Sarah Bernhardt peonies, get 3 Sarah Bernhardt’s, 3 Coral Charm’s and 3 Jan van Leeuwen's. And better yet, choose varieties that will bloom at different times; such as early, mid and late blooming bearded iris. 

Schedule in your “Martha Stewart” days

I hate to break it to you but you need a lot of time to do the boring stuff that will let you revel in glorious blooms down the road - checking your irrigation and cleaning filters, cleaning your tools and buckets, maintaining your pathways, building compost piles (actually this is quite fun), not to mention the gripping task of weeding. Designate an hour or two each week to what Farmer Shellie calls her “Martha Stewart” days, and I promise, you will be rewarded.